Thrunite TH20 Emitter Swap
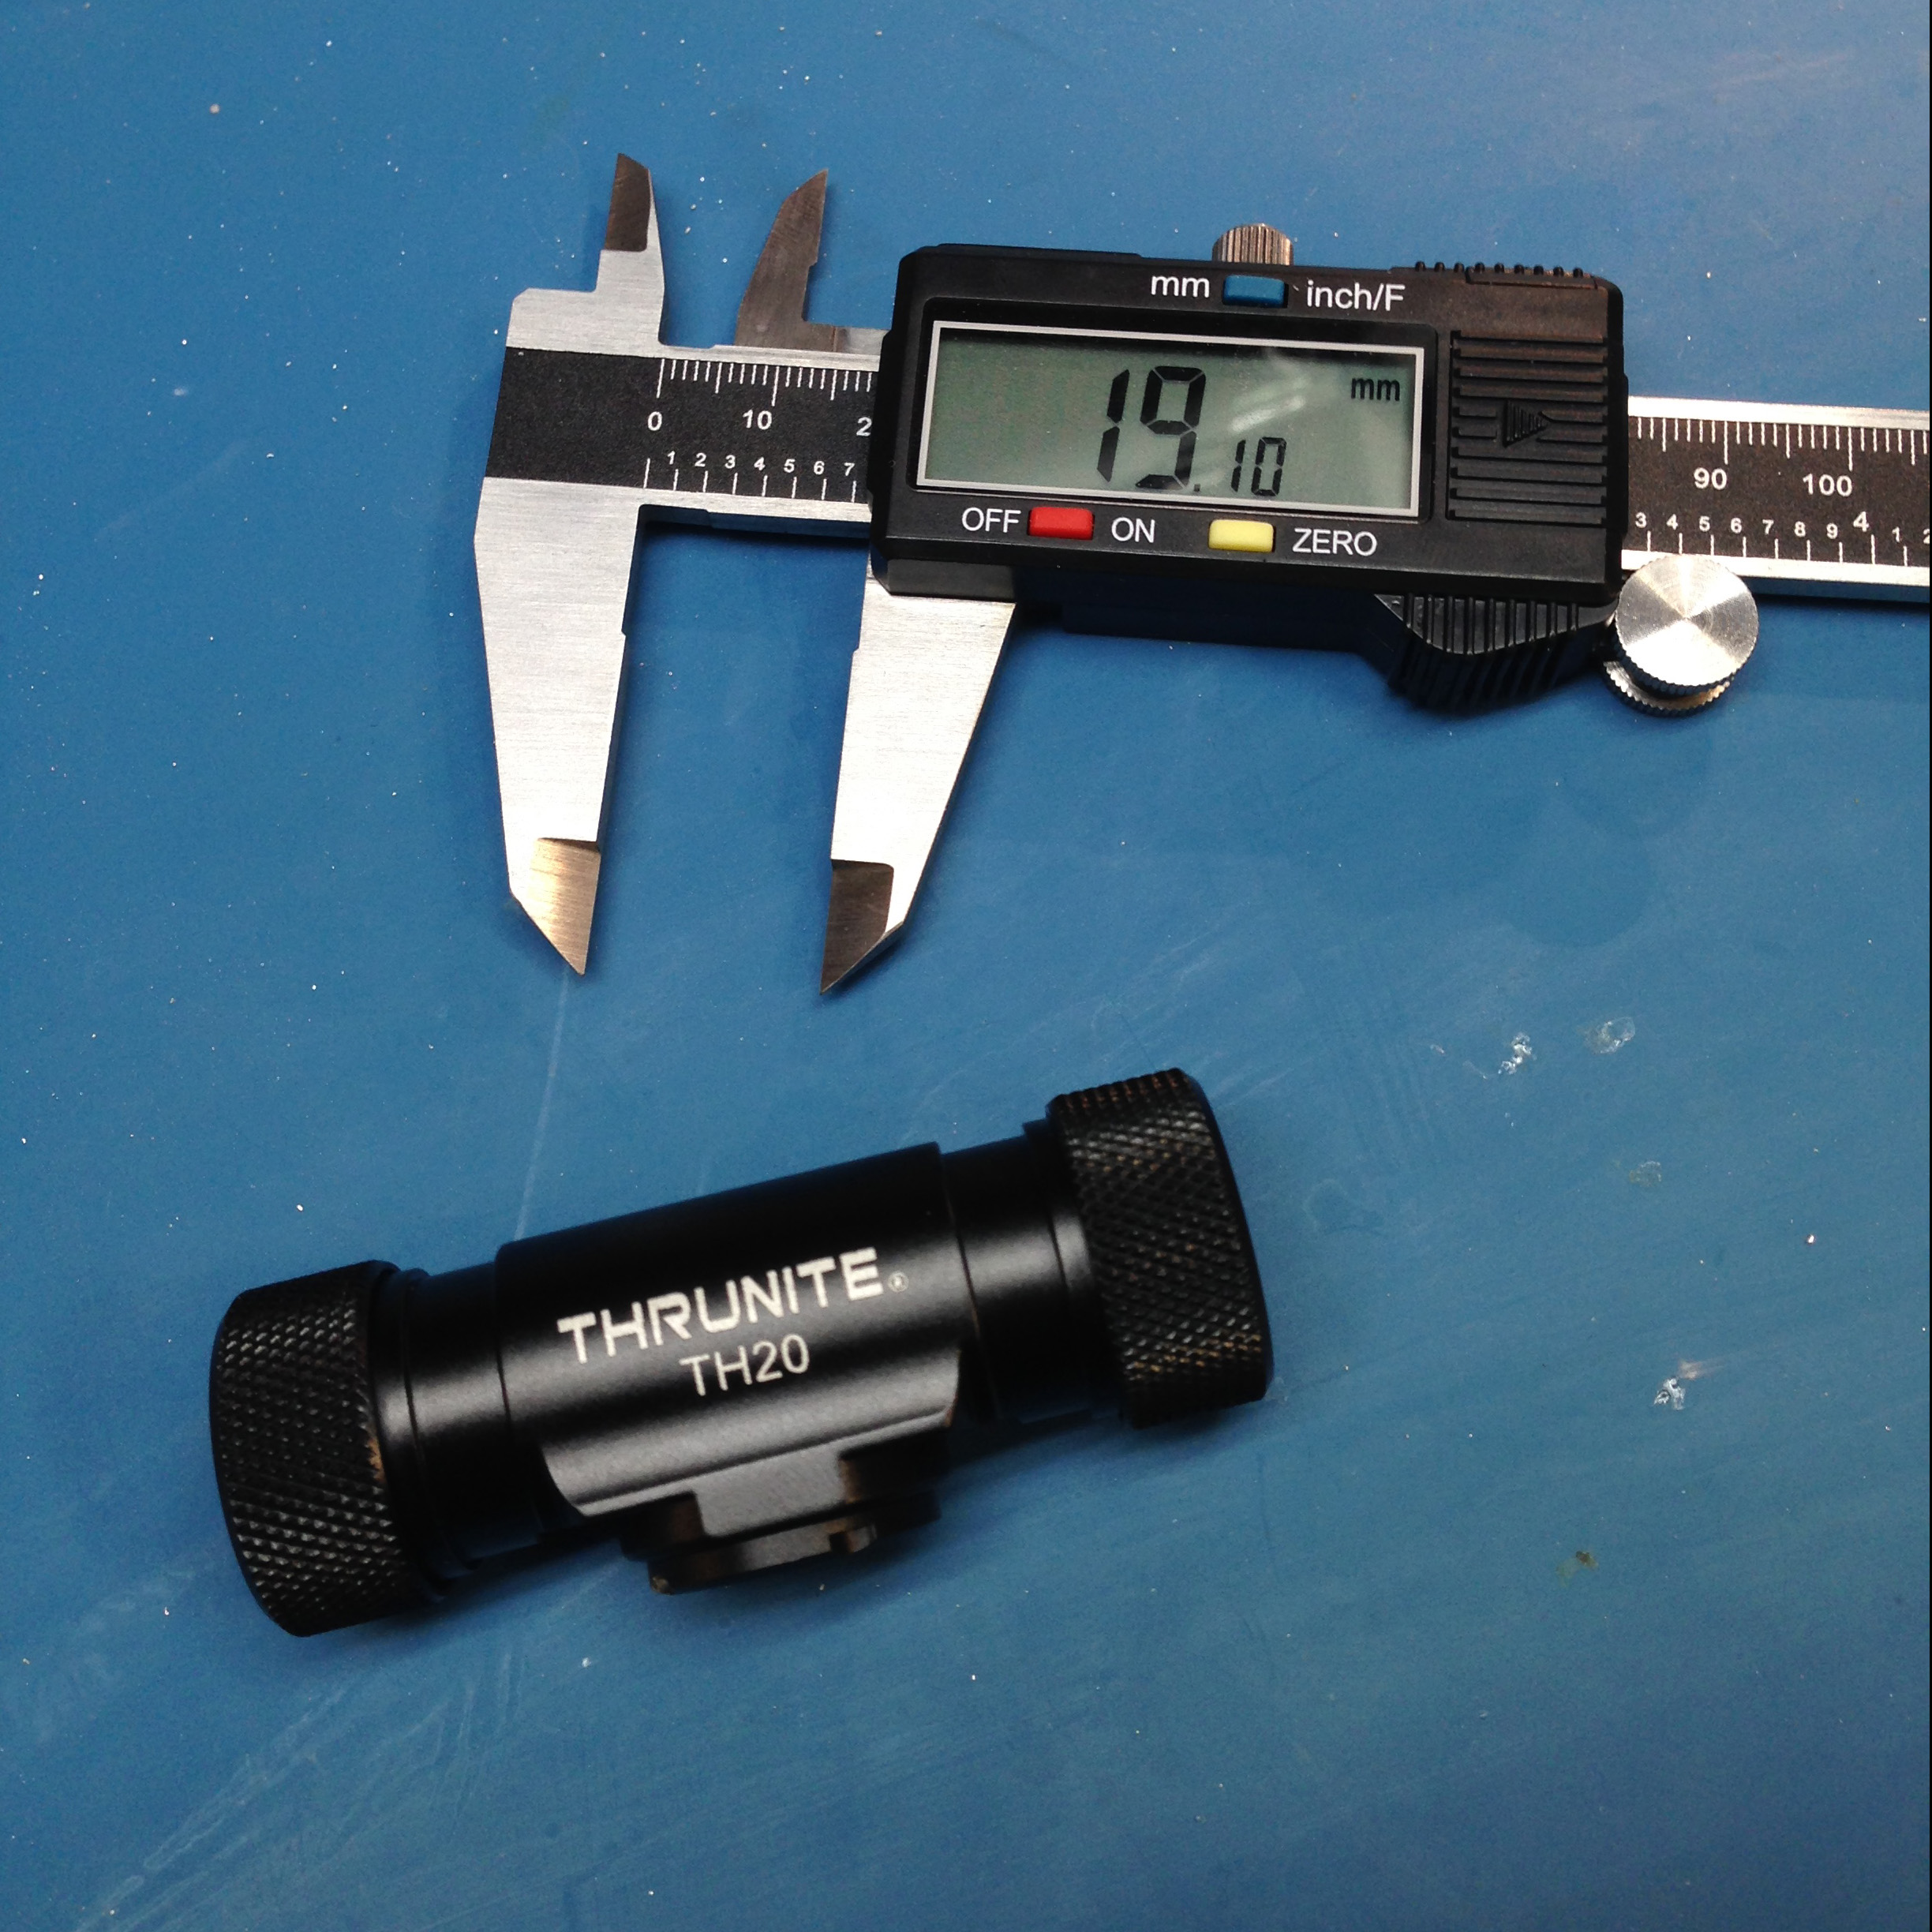
The Thrunite TH20 (Amazon link) is a great little headlamp. It’s lightweight and small enough to wear while hiking/running, and has a simple yet entirely sufficient ramping UI with moonlight and turbo shortcuts. I immediately liked the light after buying it and have been using it for both outdoor activities and DIY work inside.
The stock Cree XP-L LED emitter is fine (I recommend neutral white if you are going to leave it stock), but the headlamp is vastly improved by a high-CRI emitter, particularly (in my opinion) for outdoor use. Conveniently, swapping in a Nichia 219C emitter is trivial, as the footprints match. I purchased Nichia 219C D240 4000K emitters from Mountain Electronics and swapped out the stock XP-L LED, and my love for this headlamp has only increased.
I used a hot air reflow setup which made the process painless, but I’m confident it can be done with a soldering iron or two and some patience (and perhaps by removing some soldermask on top). However, if you don’t have a hot air rig and you’re doing emitter swaps, consider buying a hot air setup. They’re cheap. Having a microscope, magnifying lamp, or magnifying glasses will also help.
|
|
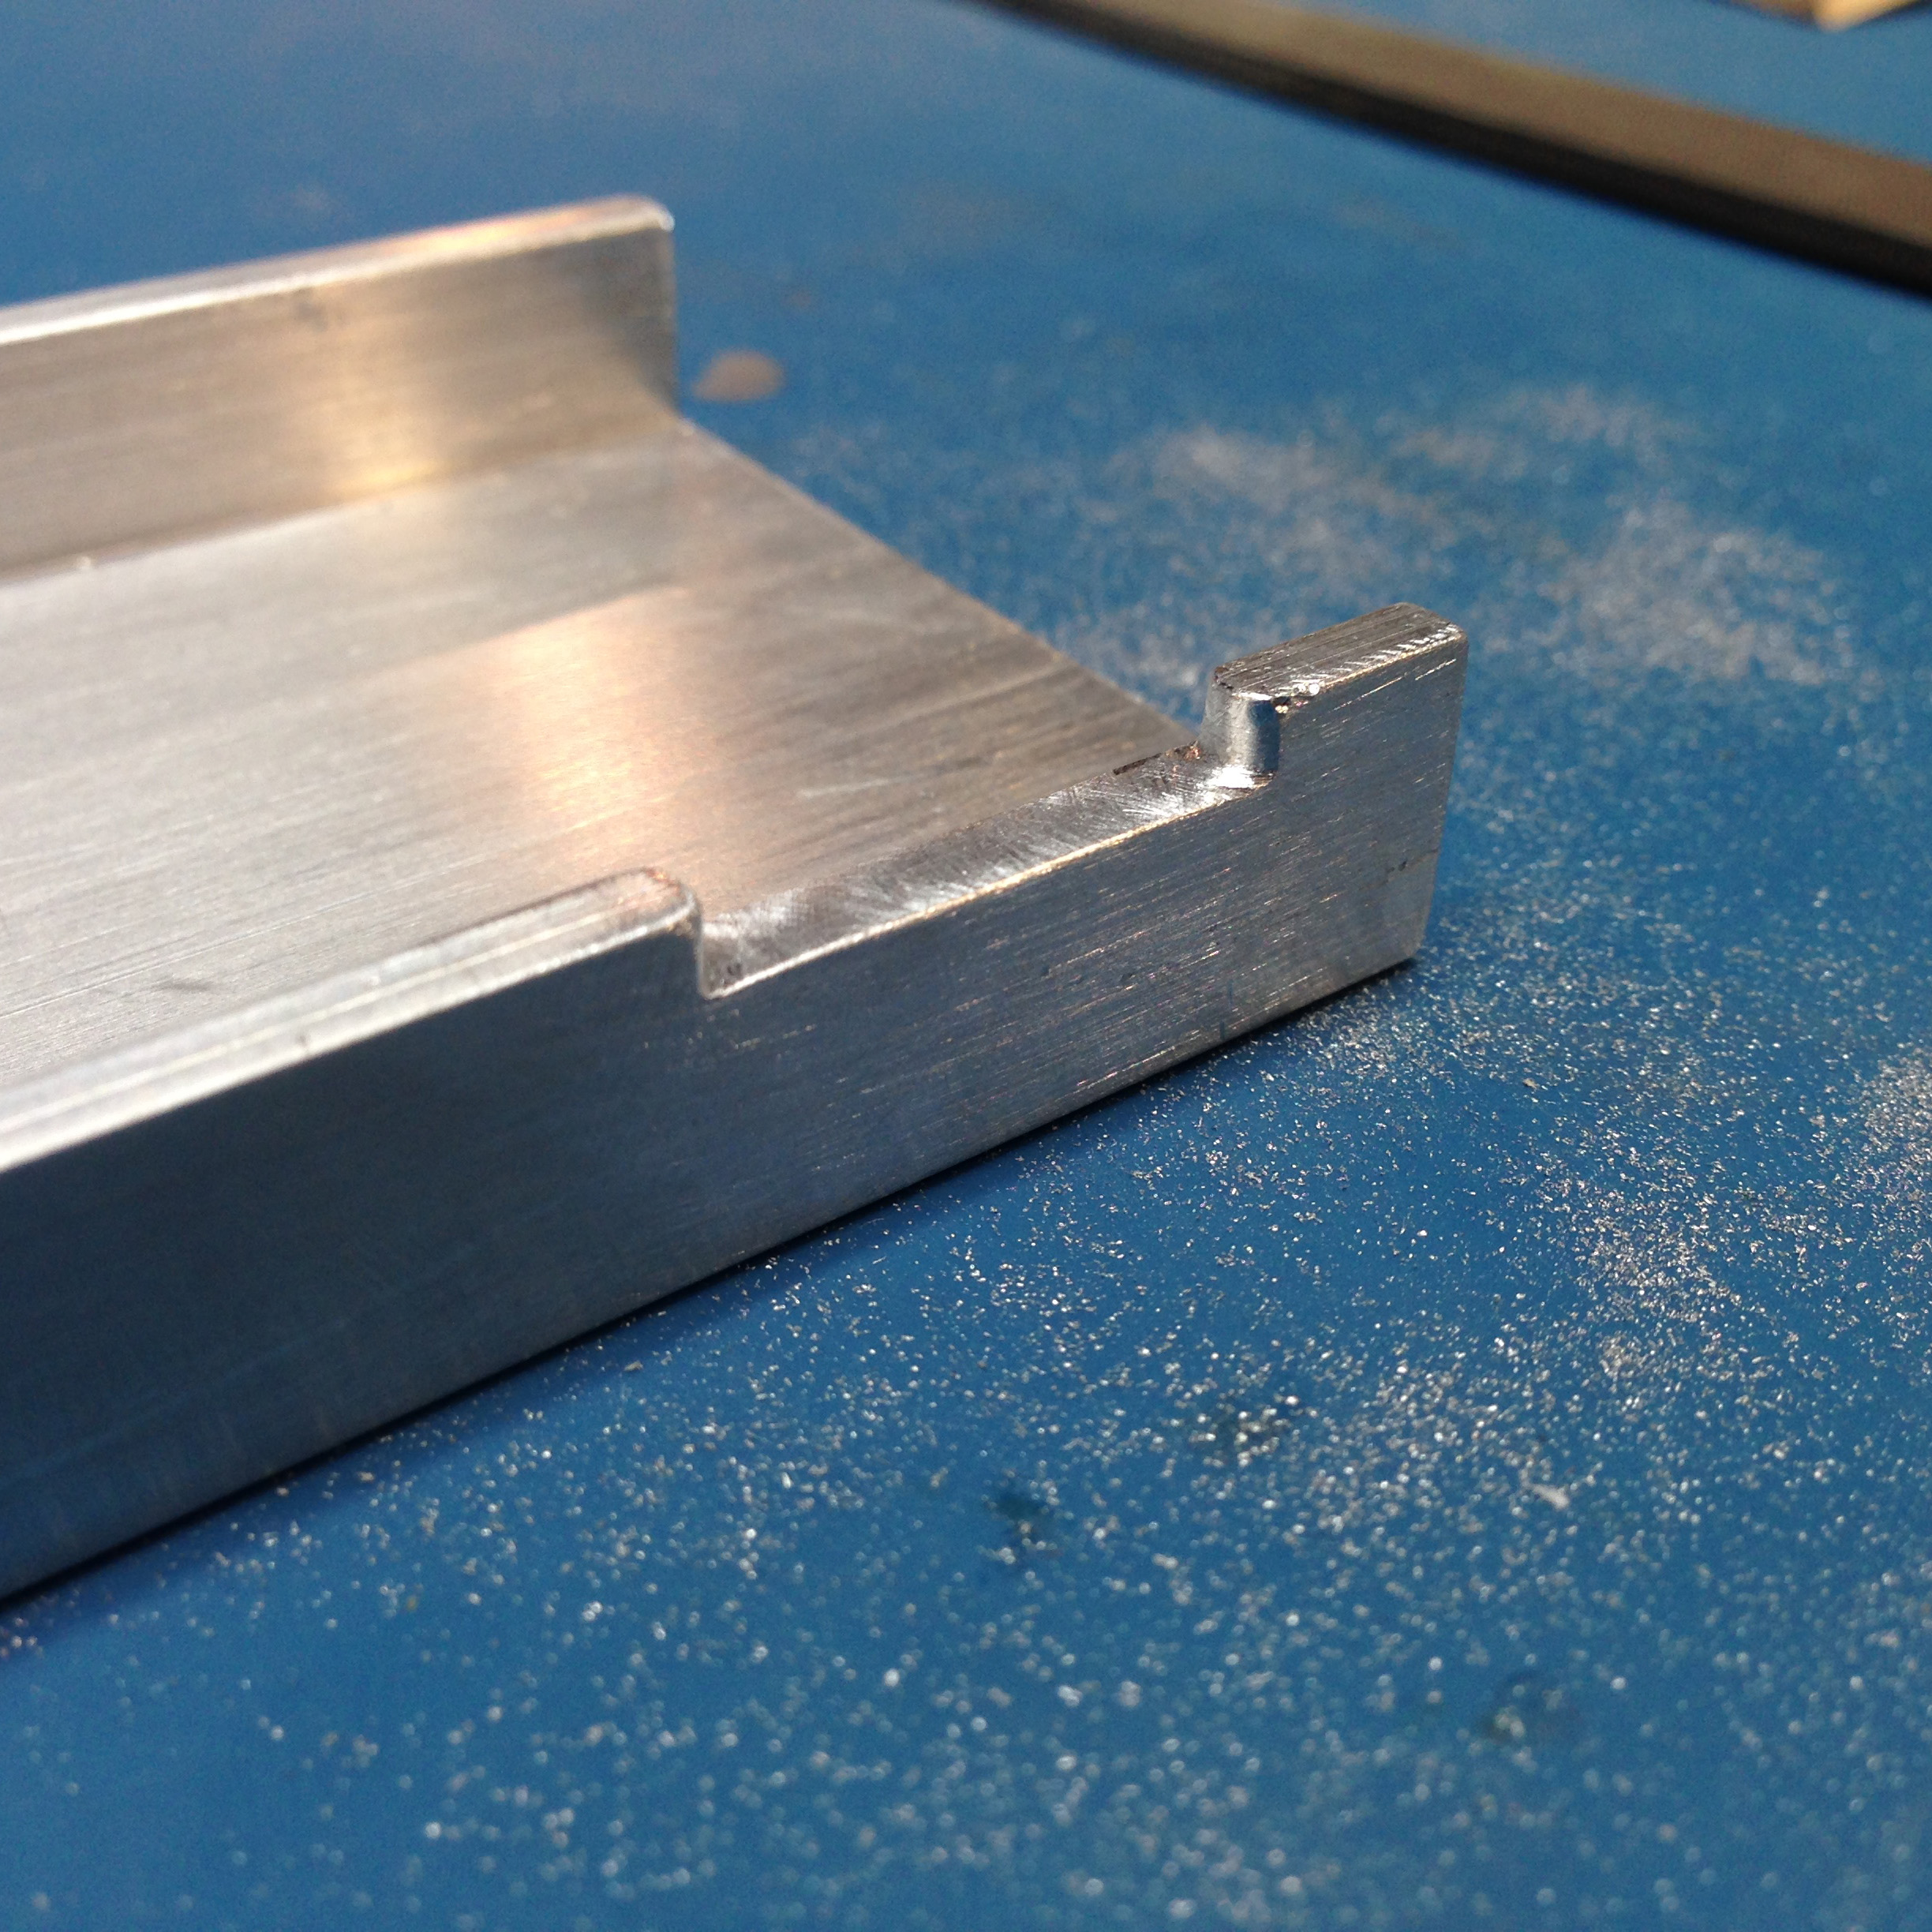
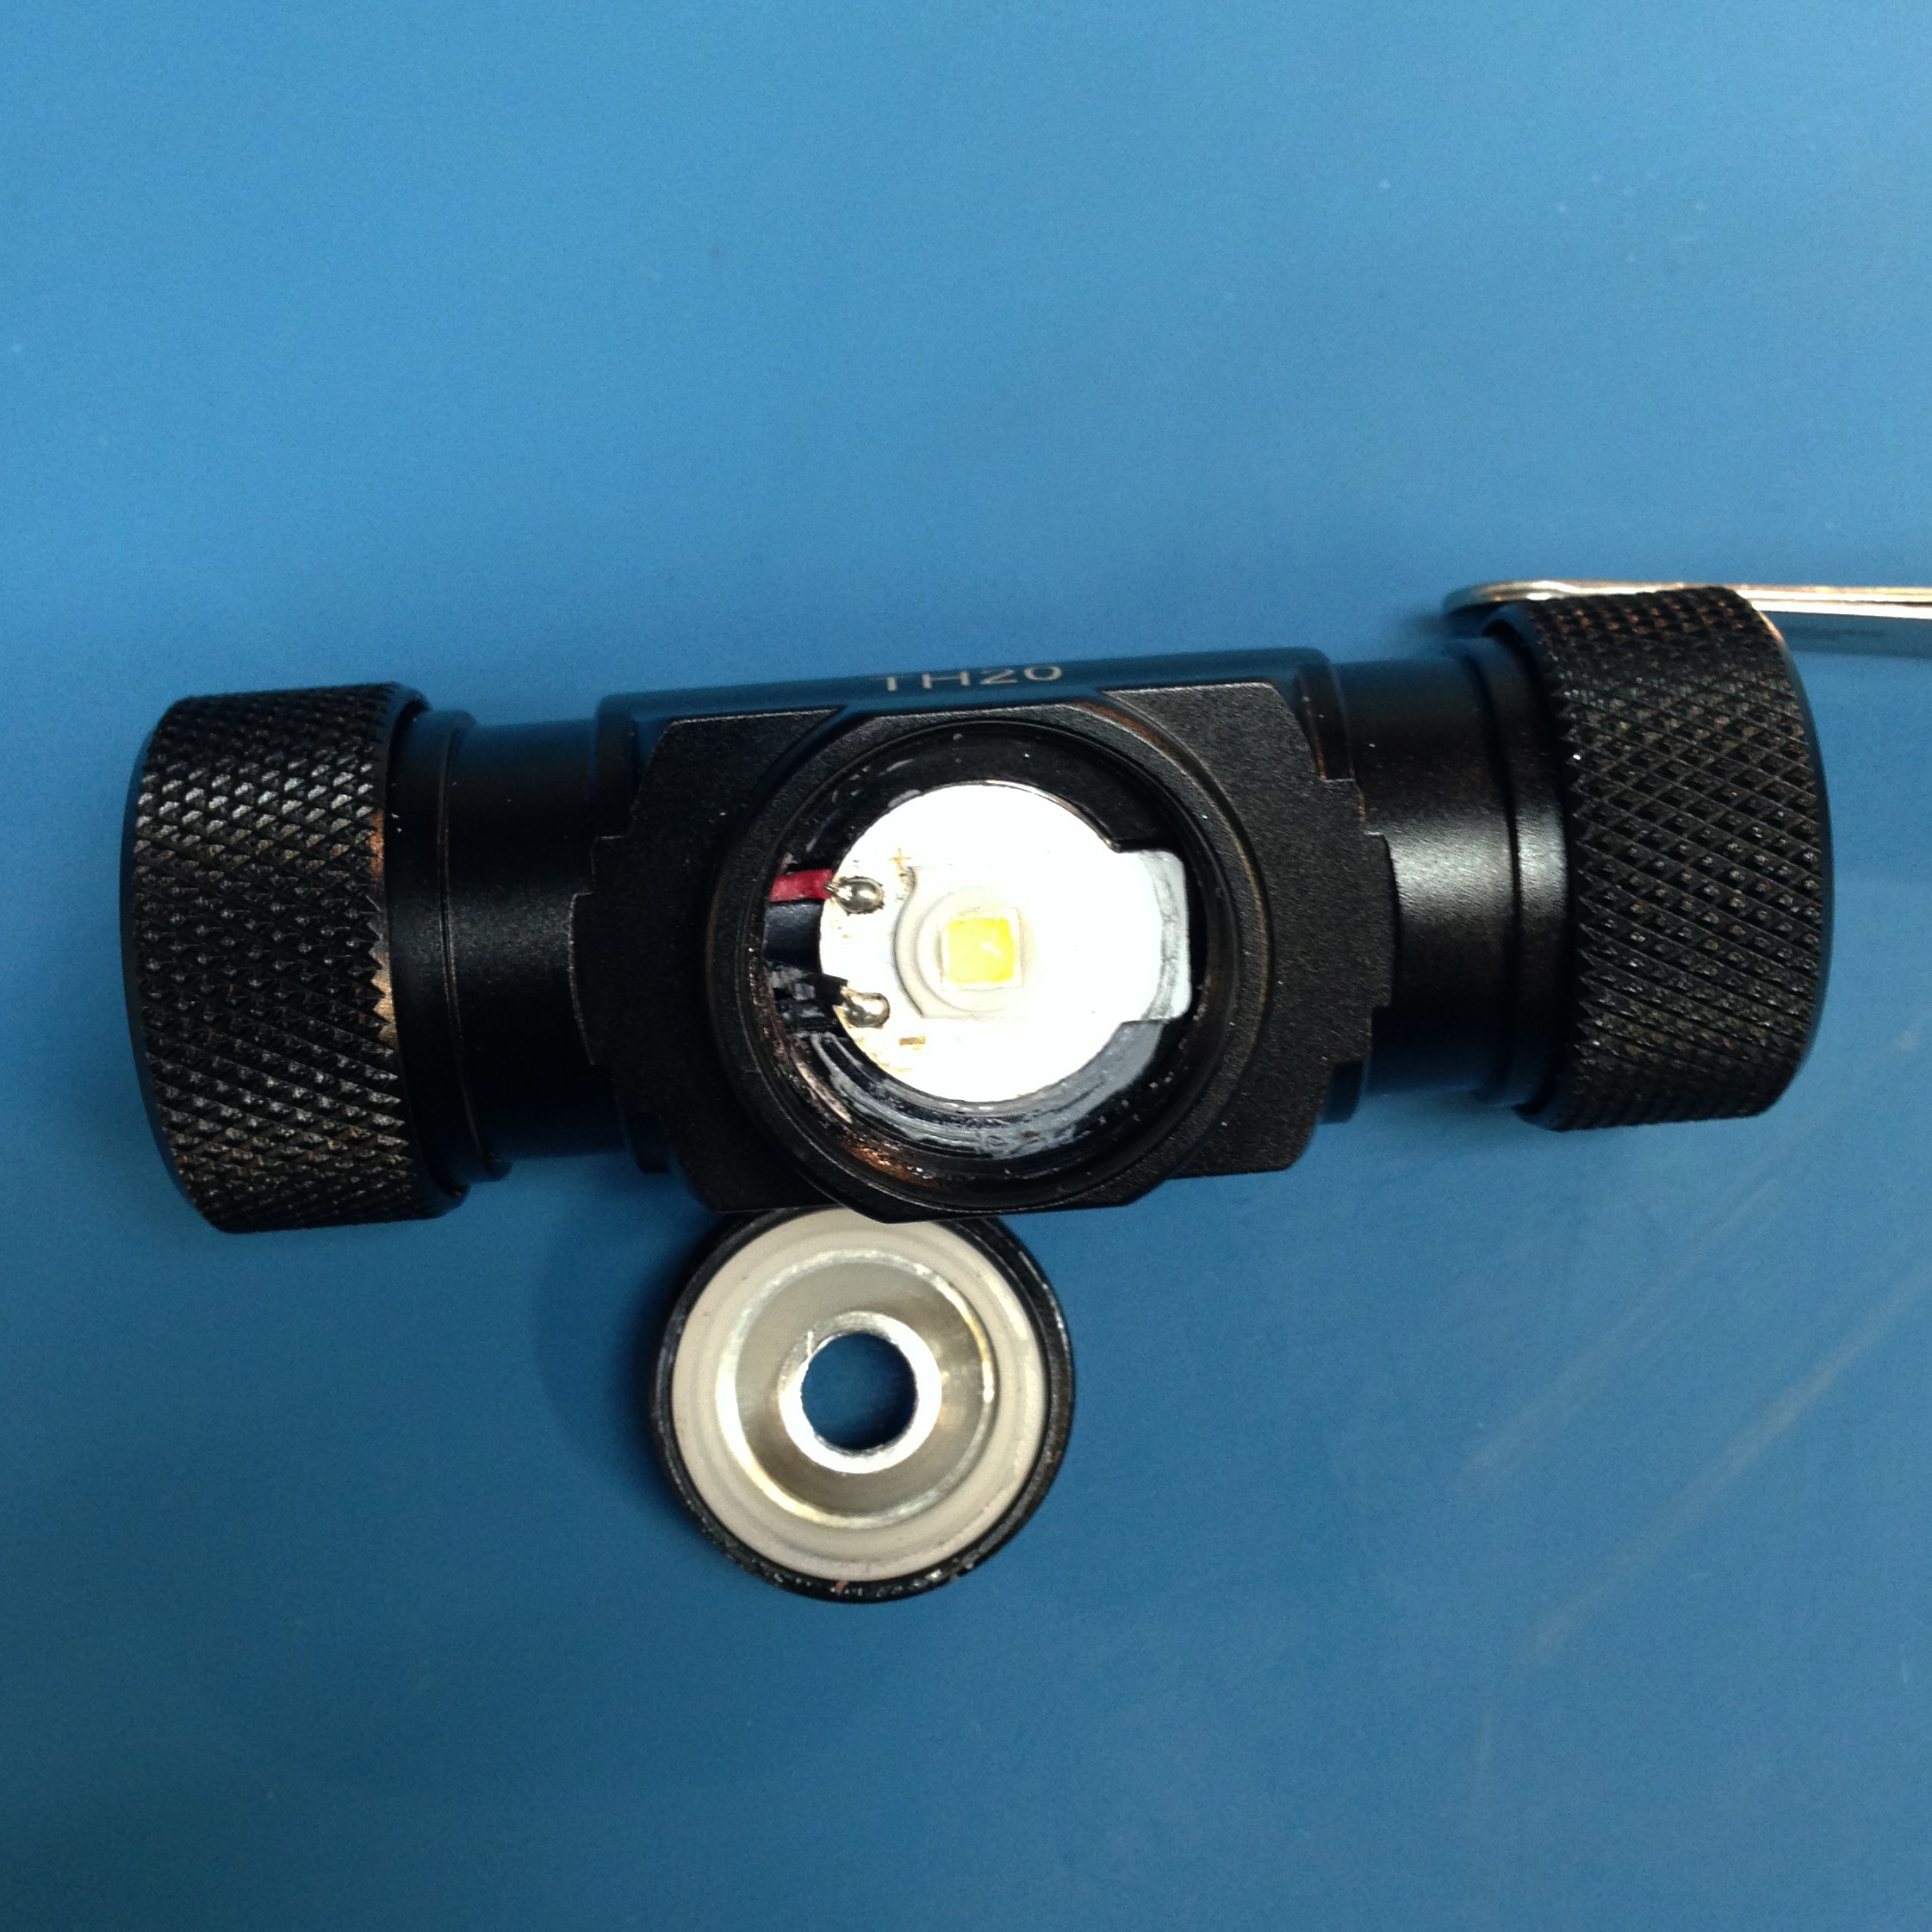
First things first, we need to unscrew the bezel. While it can be unscrewed with needle-nose pliers, you’ll probably make a mess of it. To do it cleanly, I fashioned a bezel wrench from some spare aluminum channel using a few flat files and some sandpaper.
|
|
|
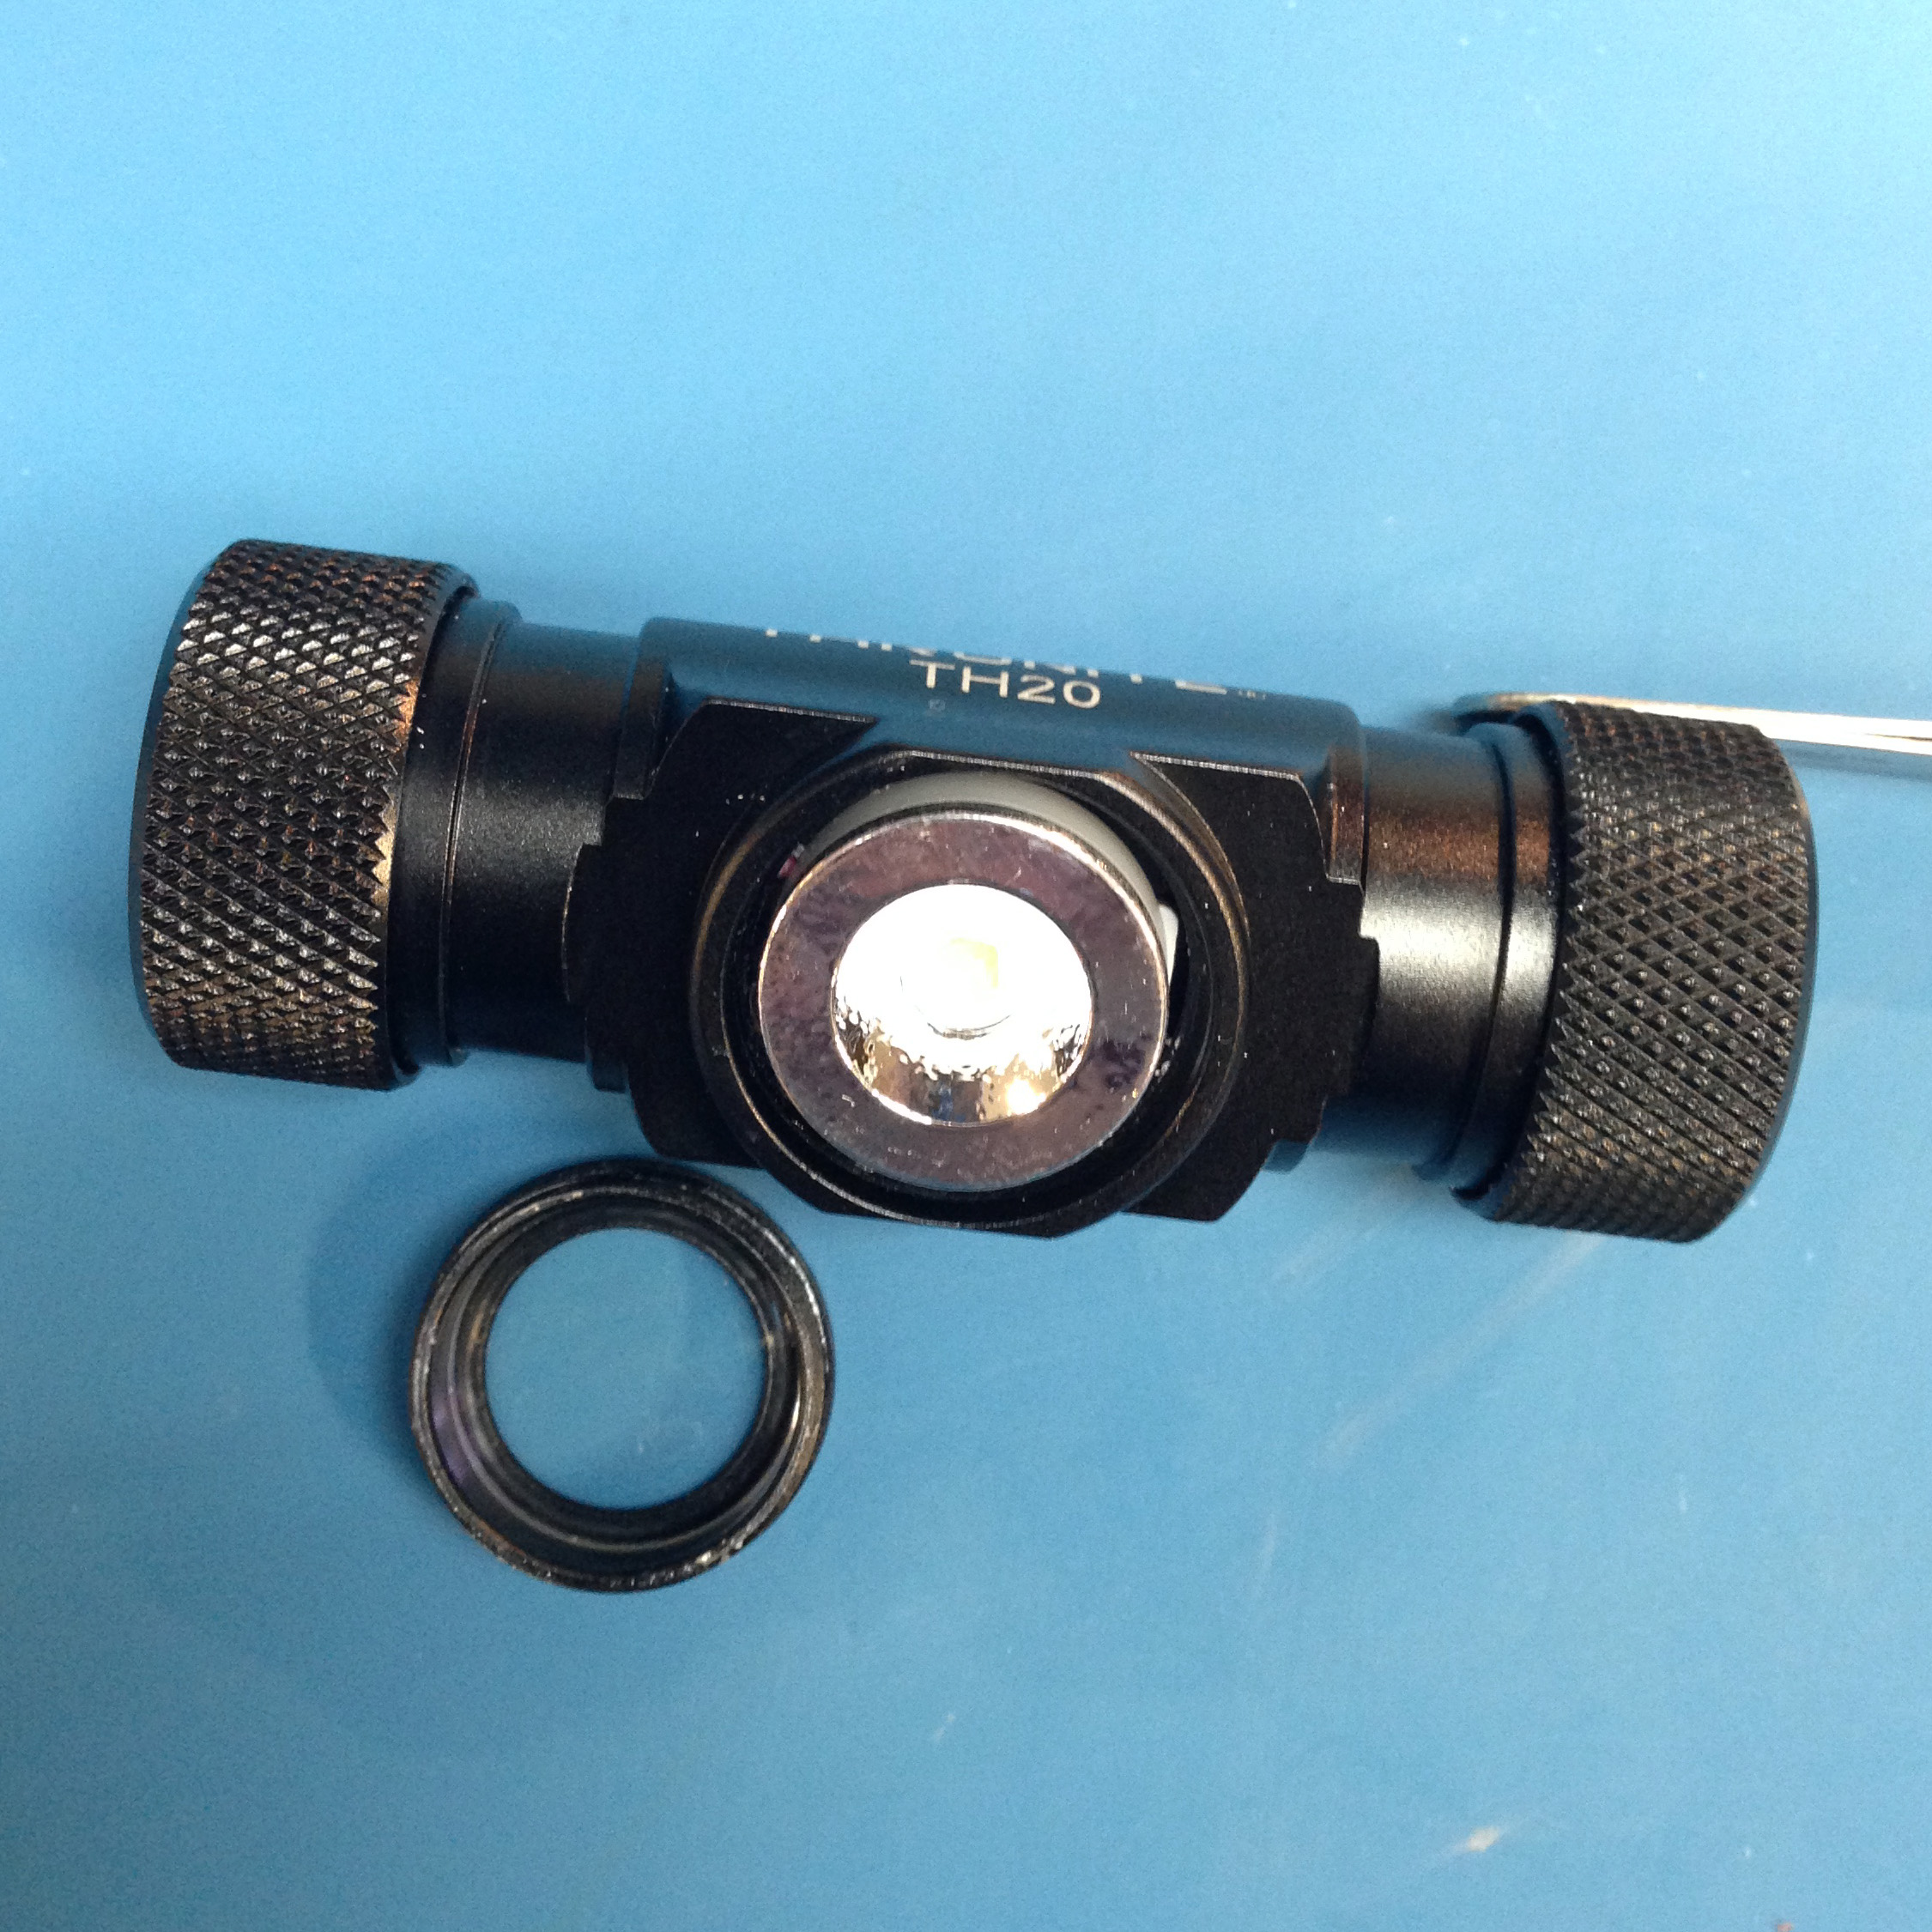
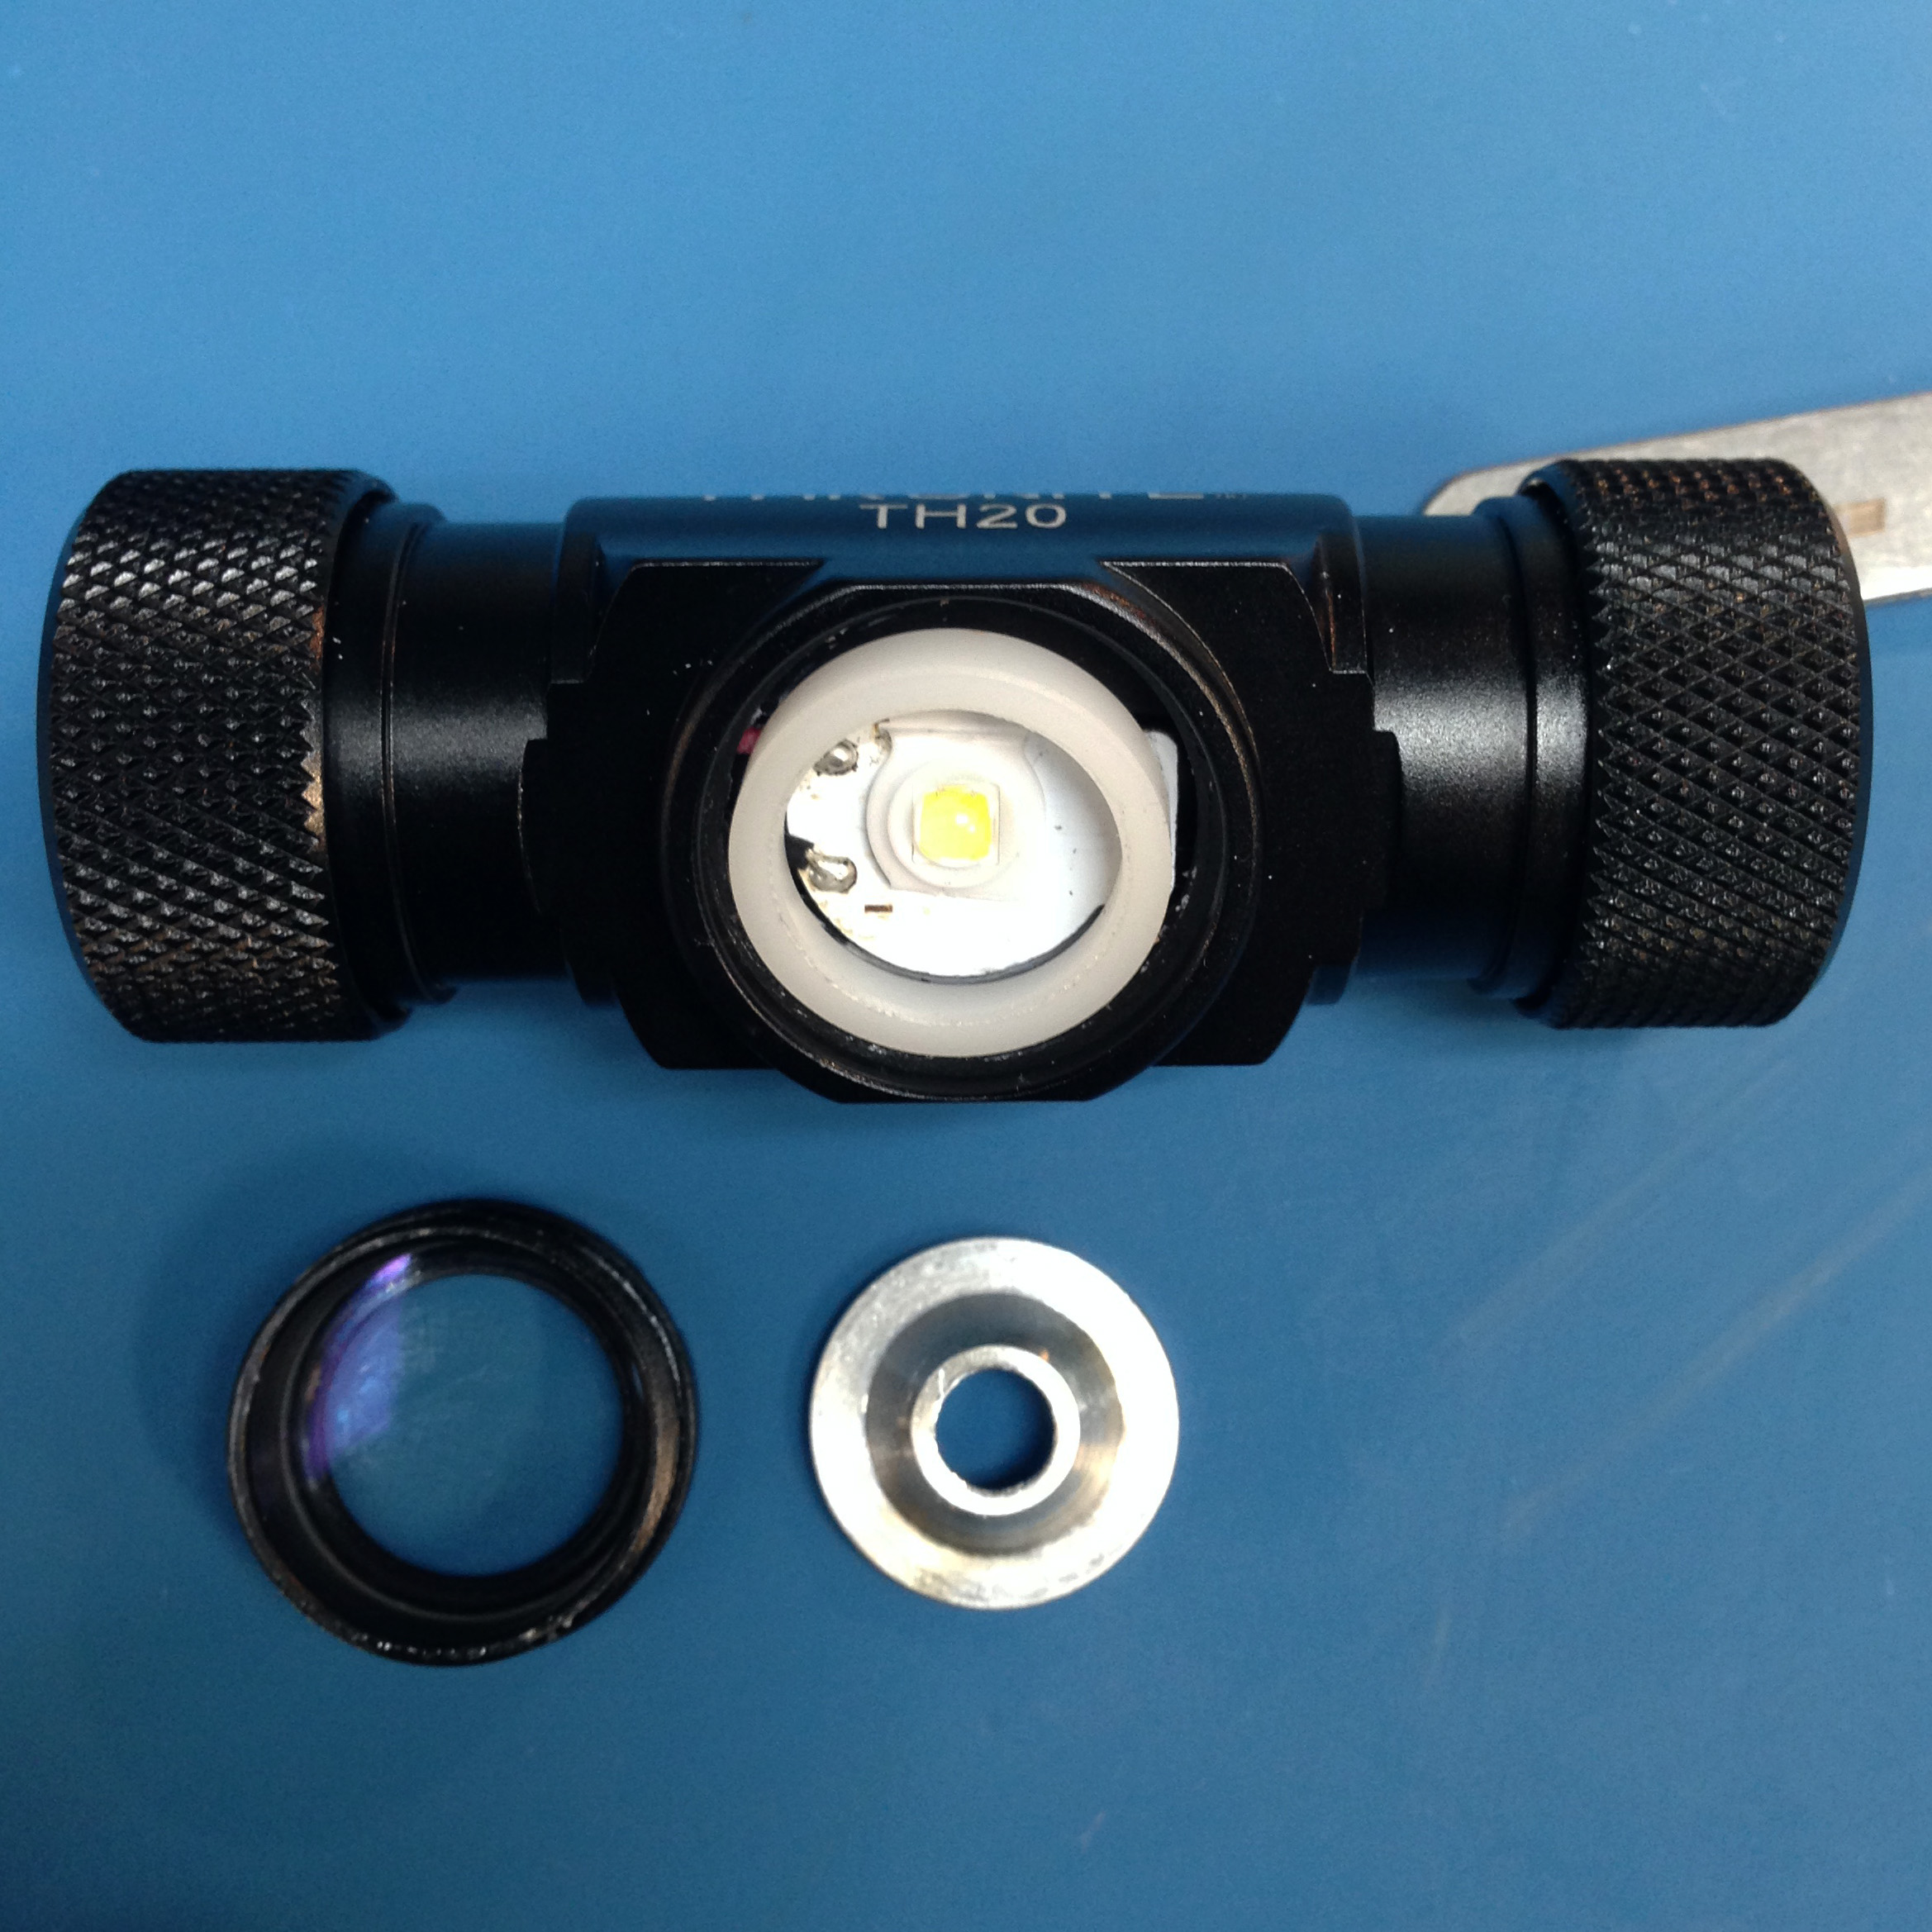
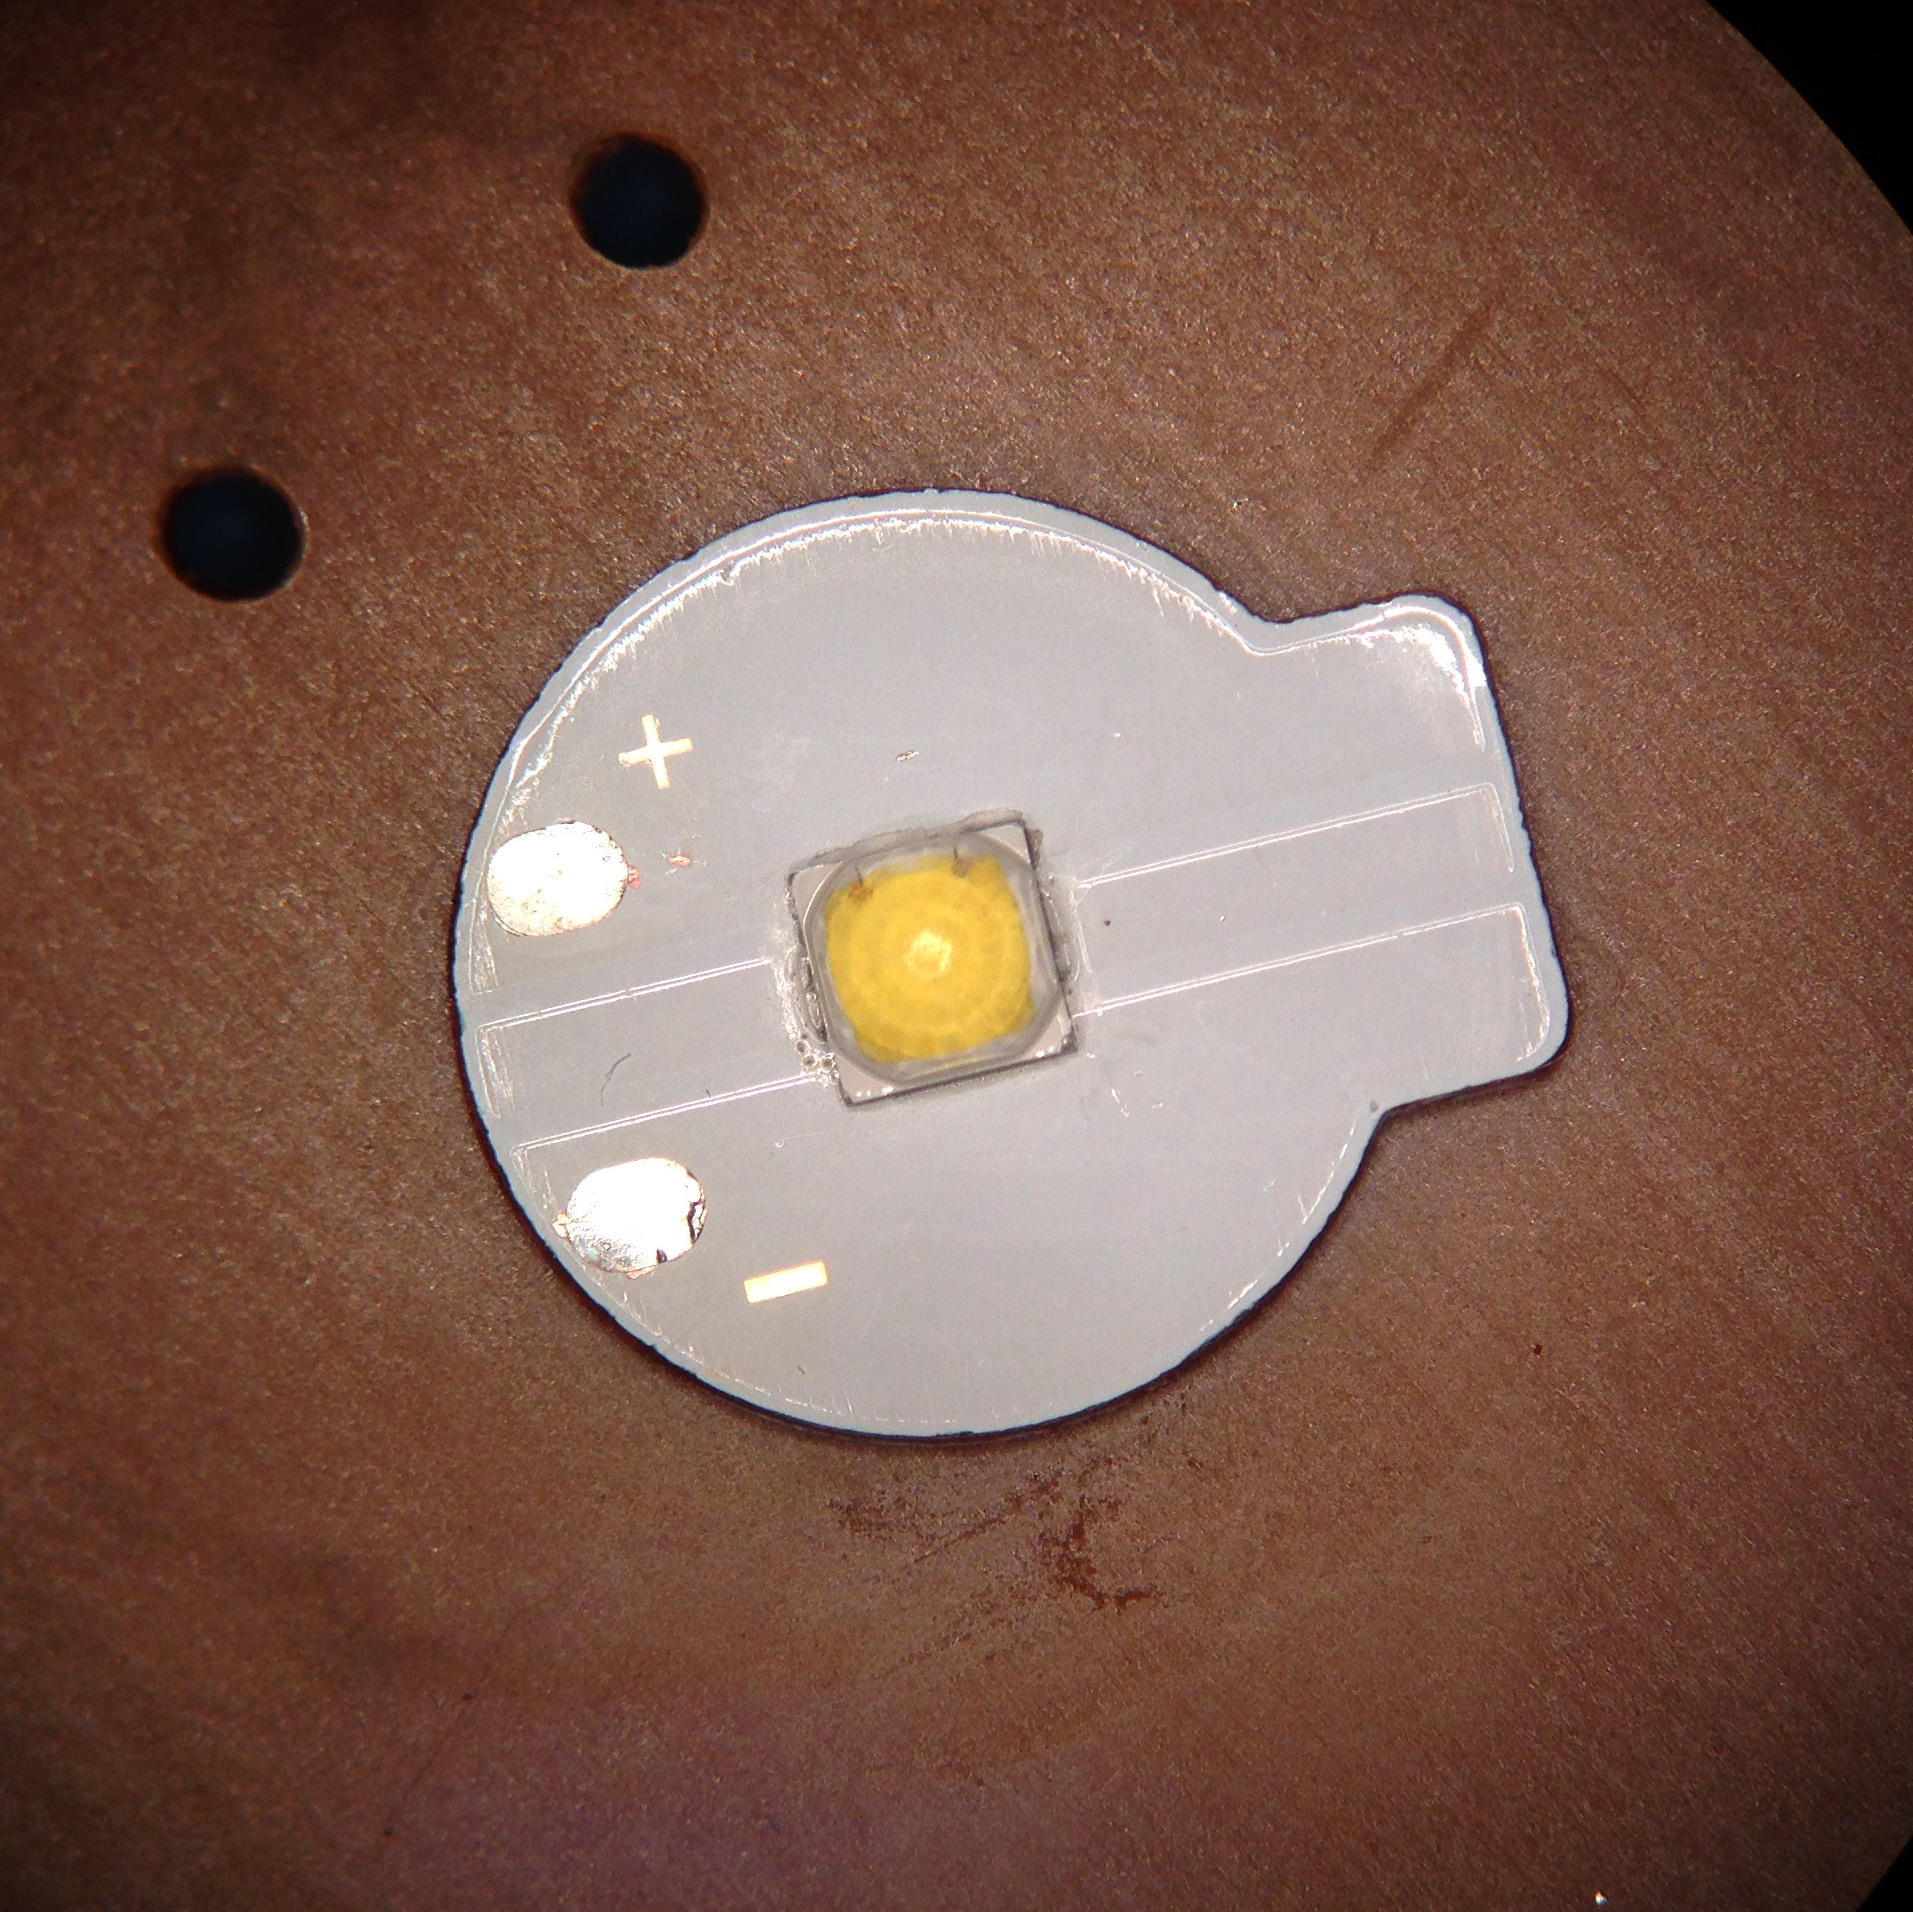
Behind the bezel is a glass lens, a very shallow orange-peel reflector, a white plastic reflector support, the centering ring, and a uniquely shaped MCPCB with emitter. The battery cutout creates a slot below the PCB, and the PCB has a little tab that extends to fit the small channel cut above the “shoulders” of the body of the light.
|
|
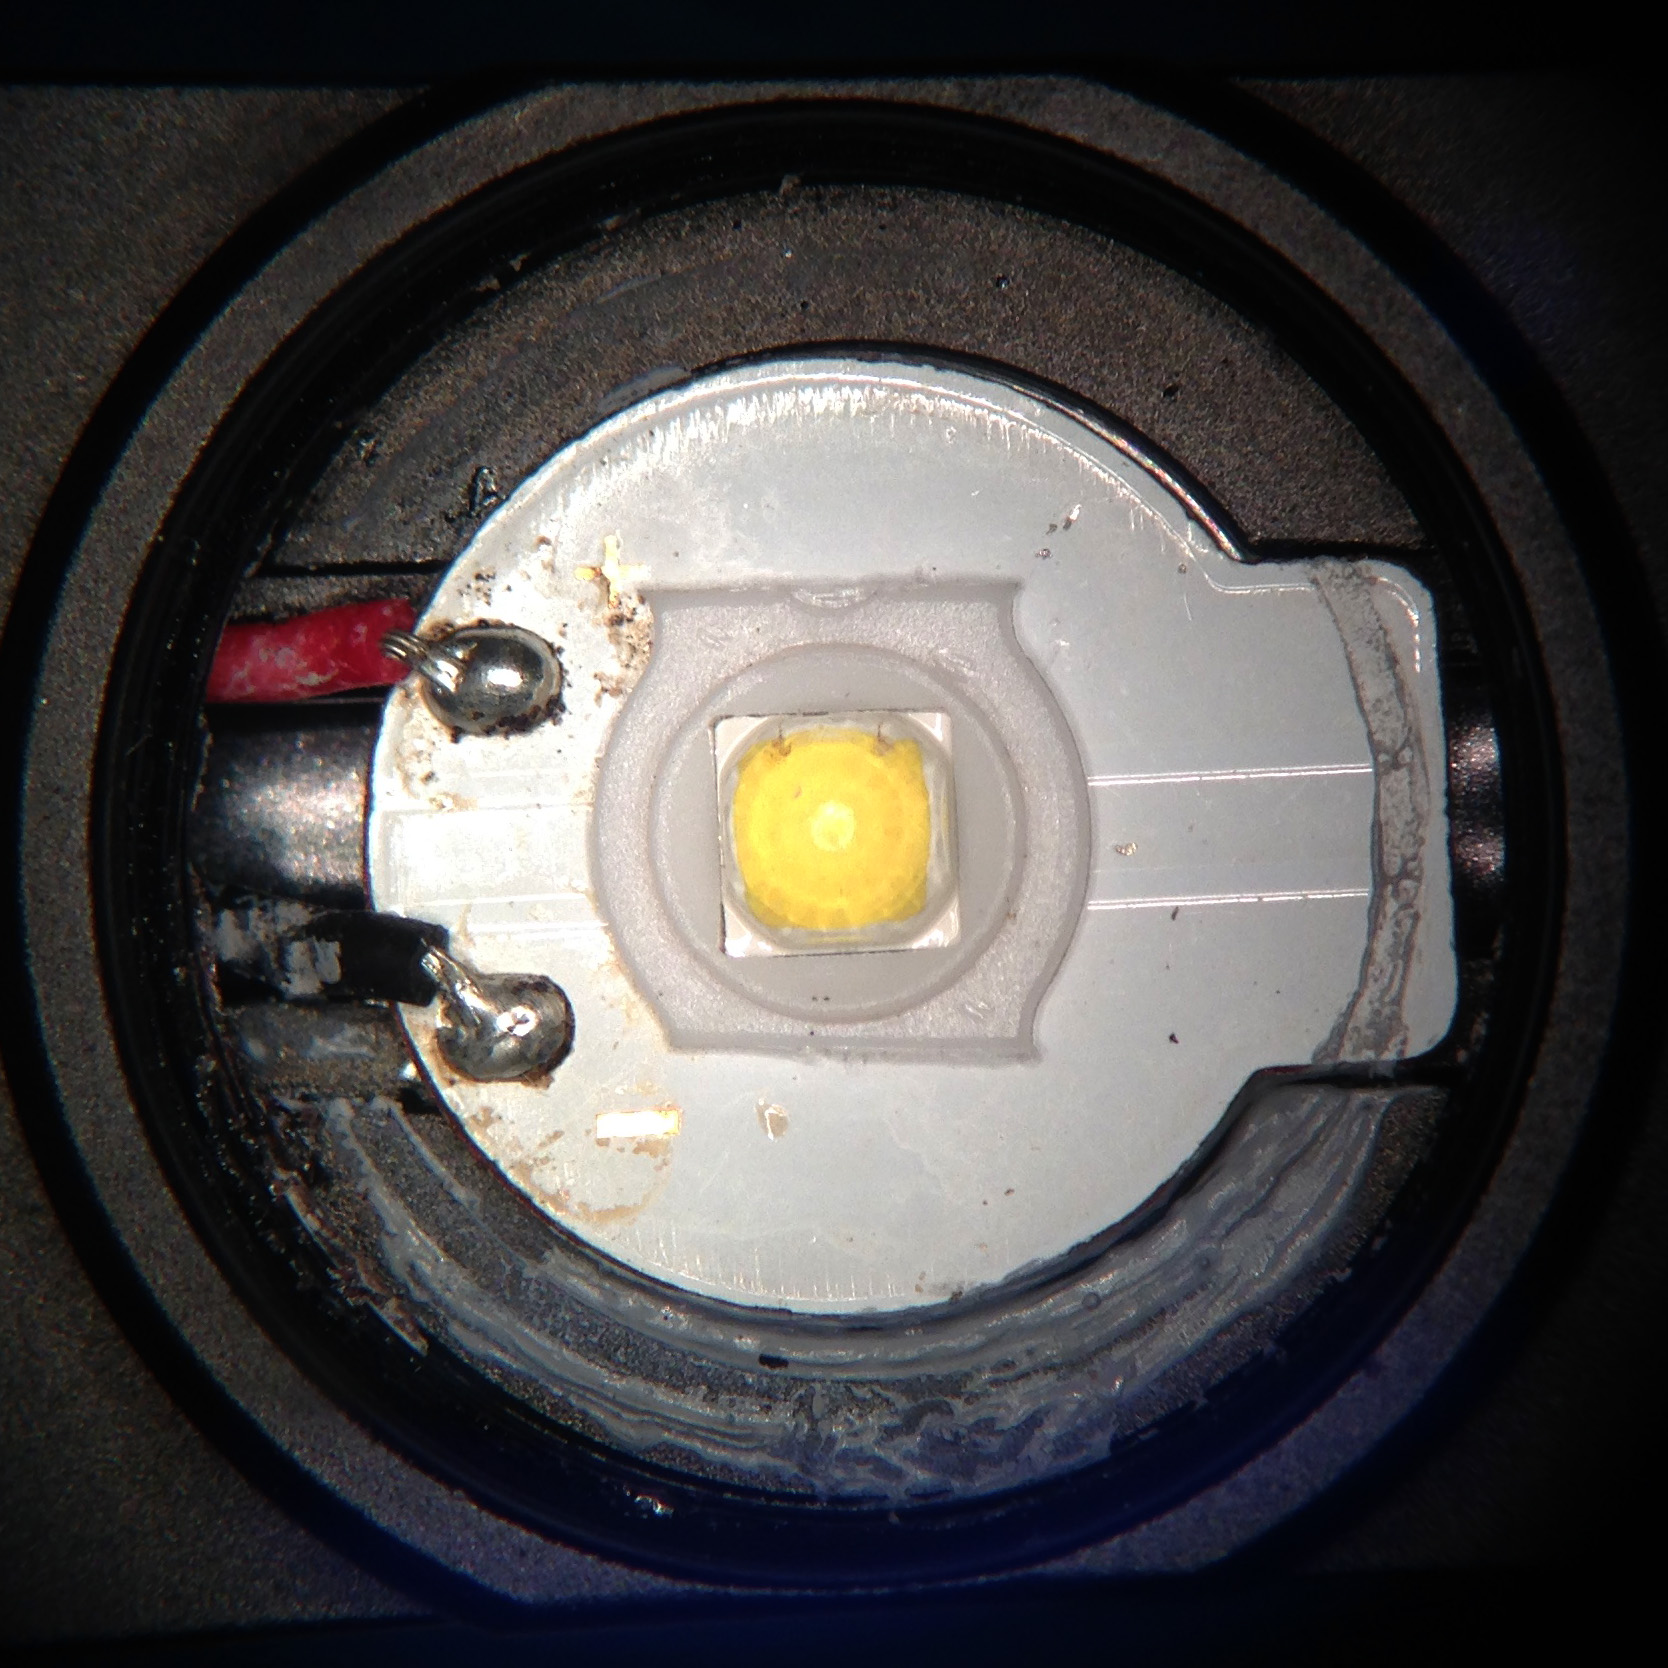
The PCB comes out of the light easily after desoldering the wires. There was a small amount of somewhat dry thermal paste between the PCB and the body of the light, and a bit of a sloppy soldering job, but nothing upsetting.
|
|
|
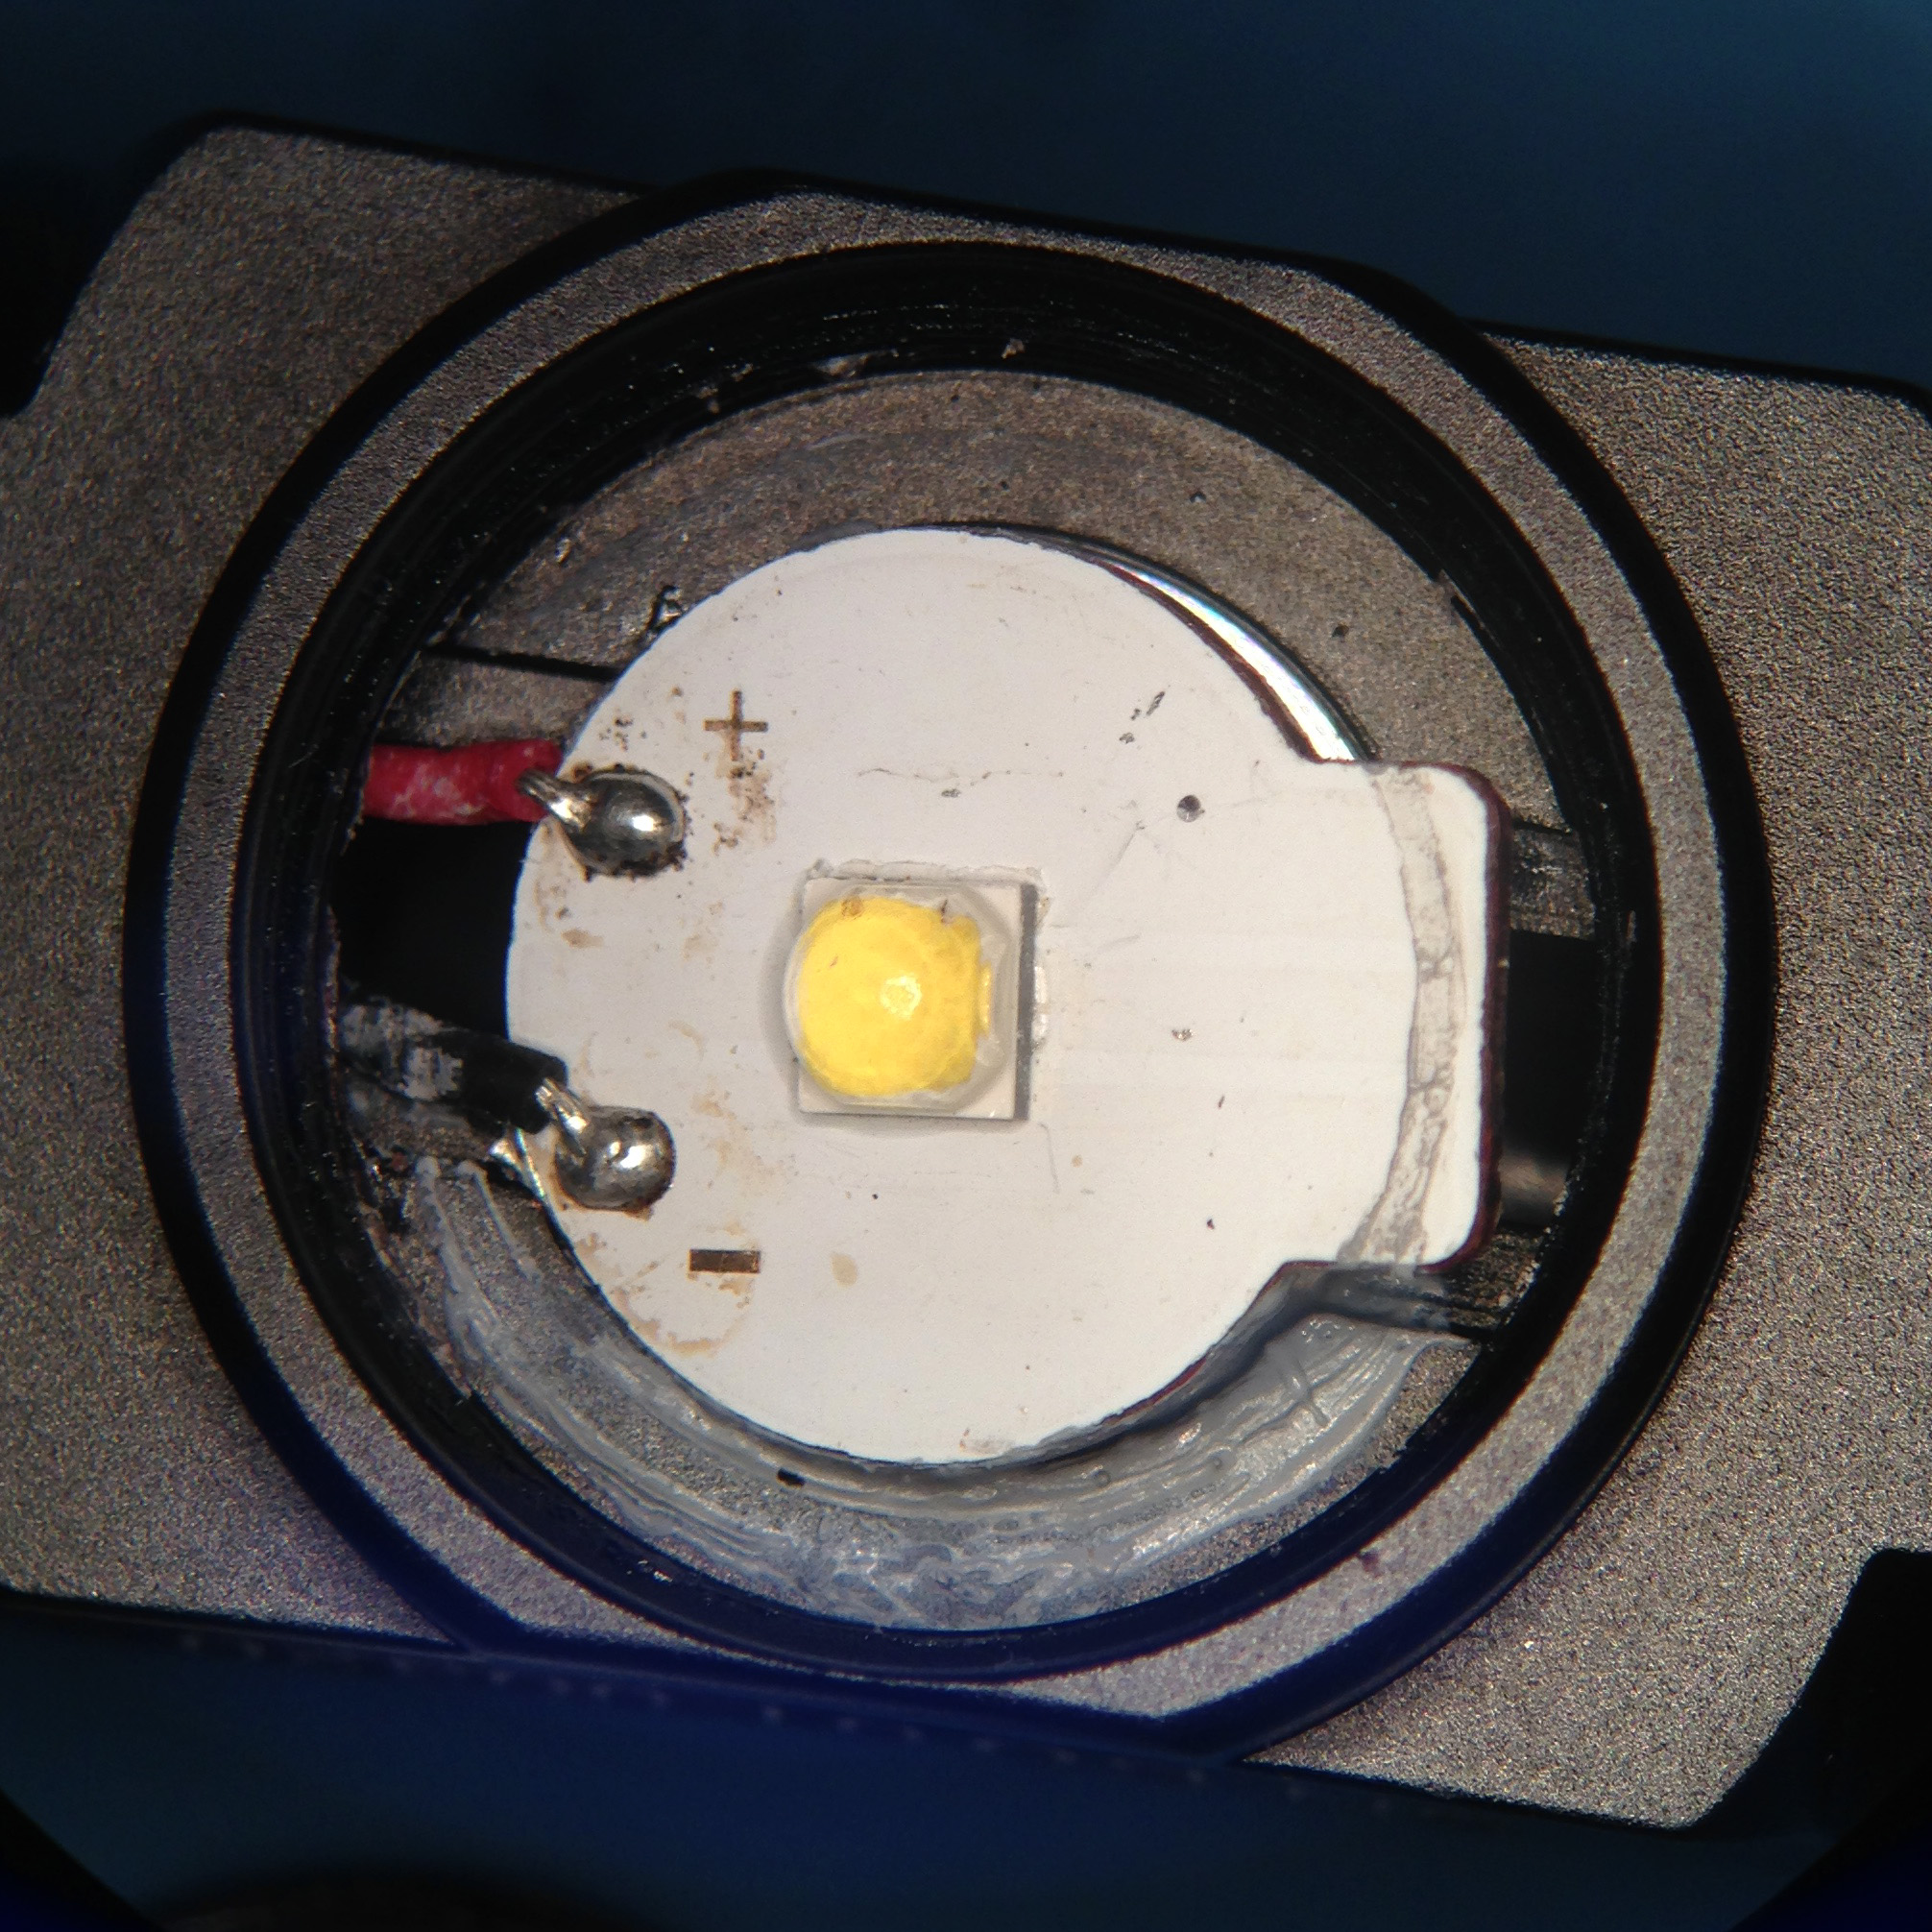
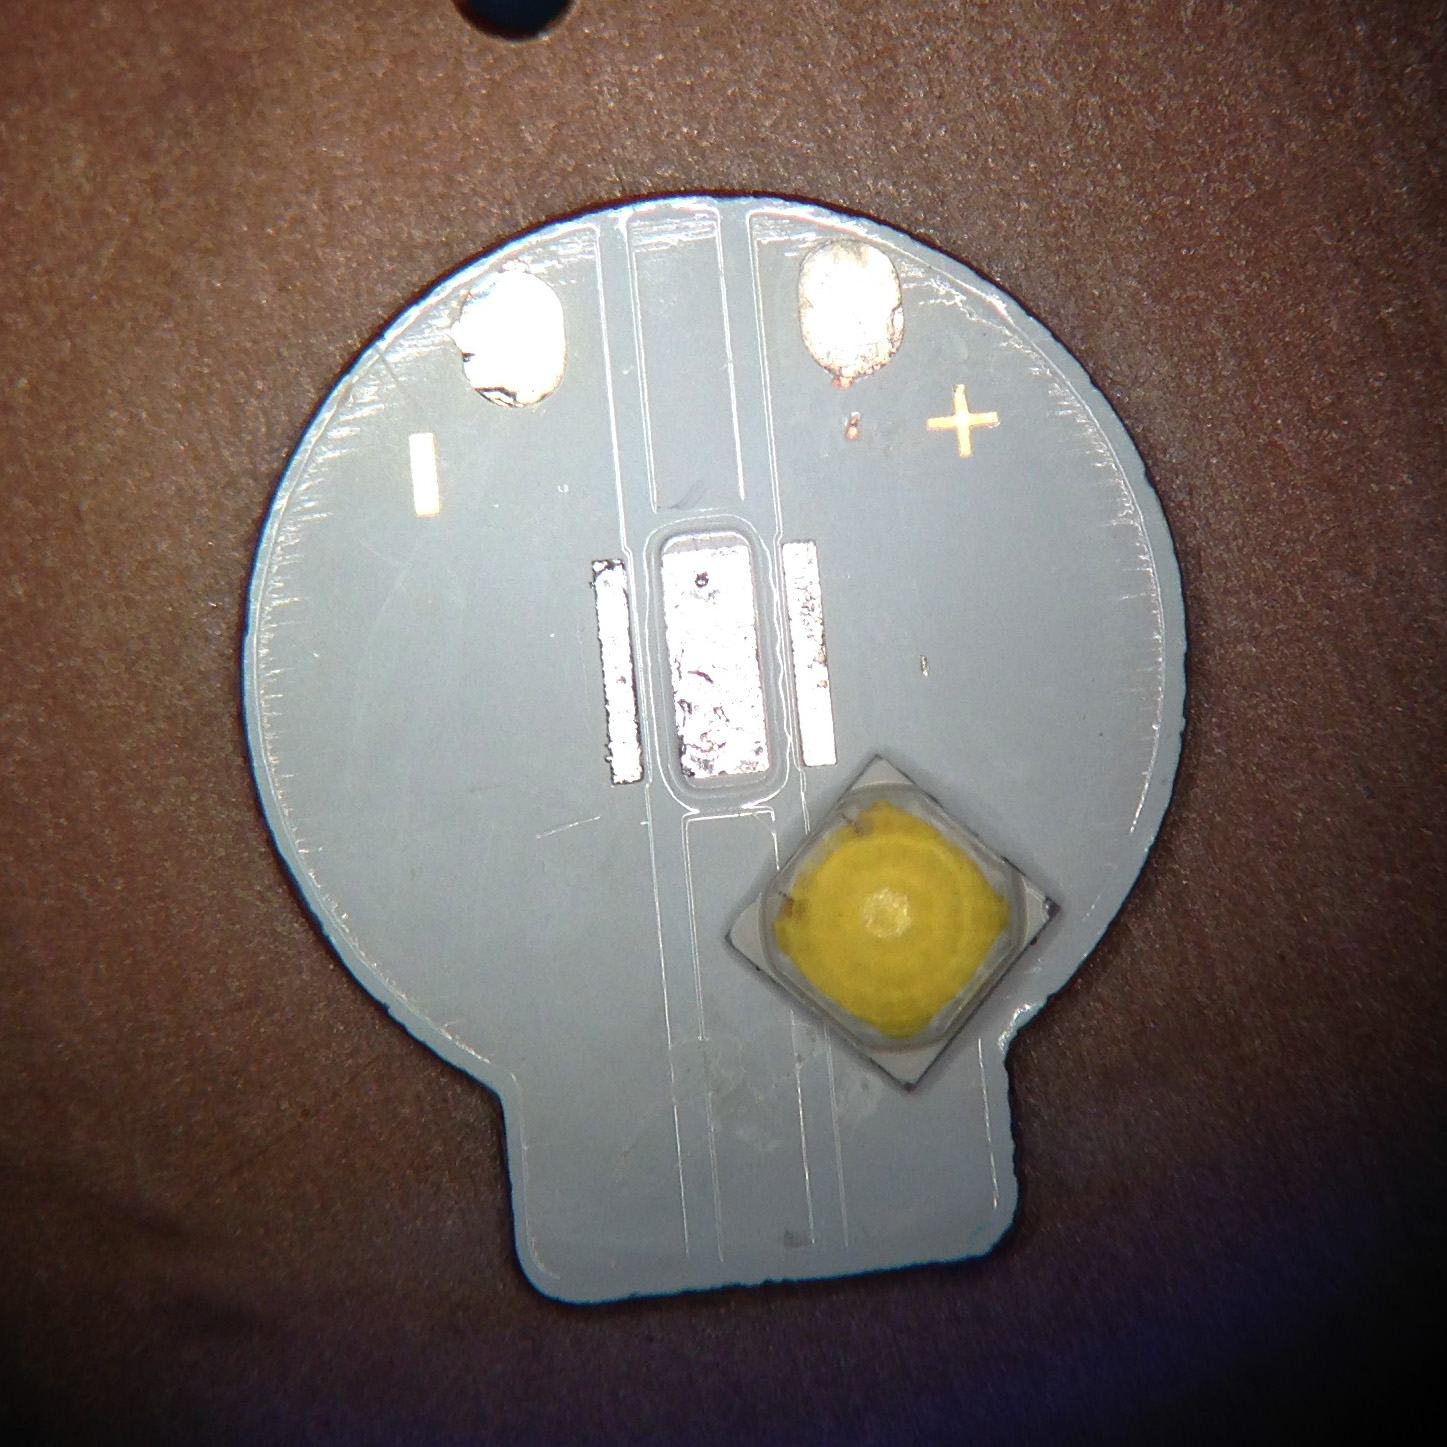
Thermal paste application was a bit asymmetrical. I cleaned up the PCB and then desoldered the stock emitter using a hot air reflow station.
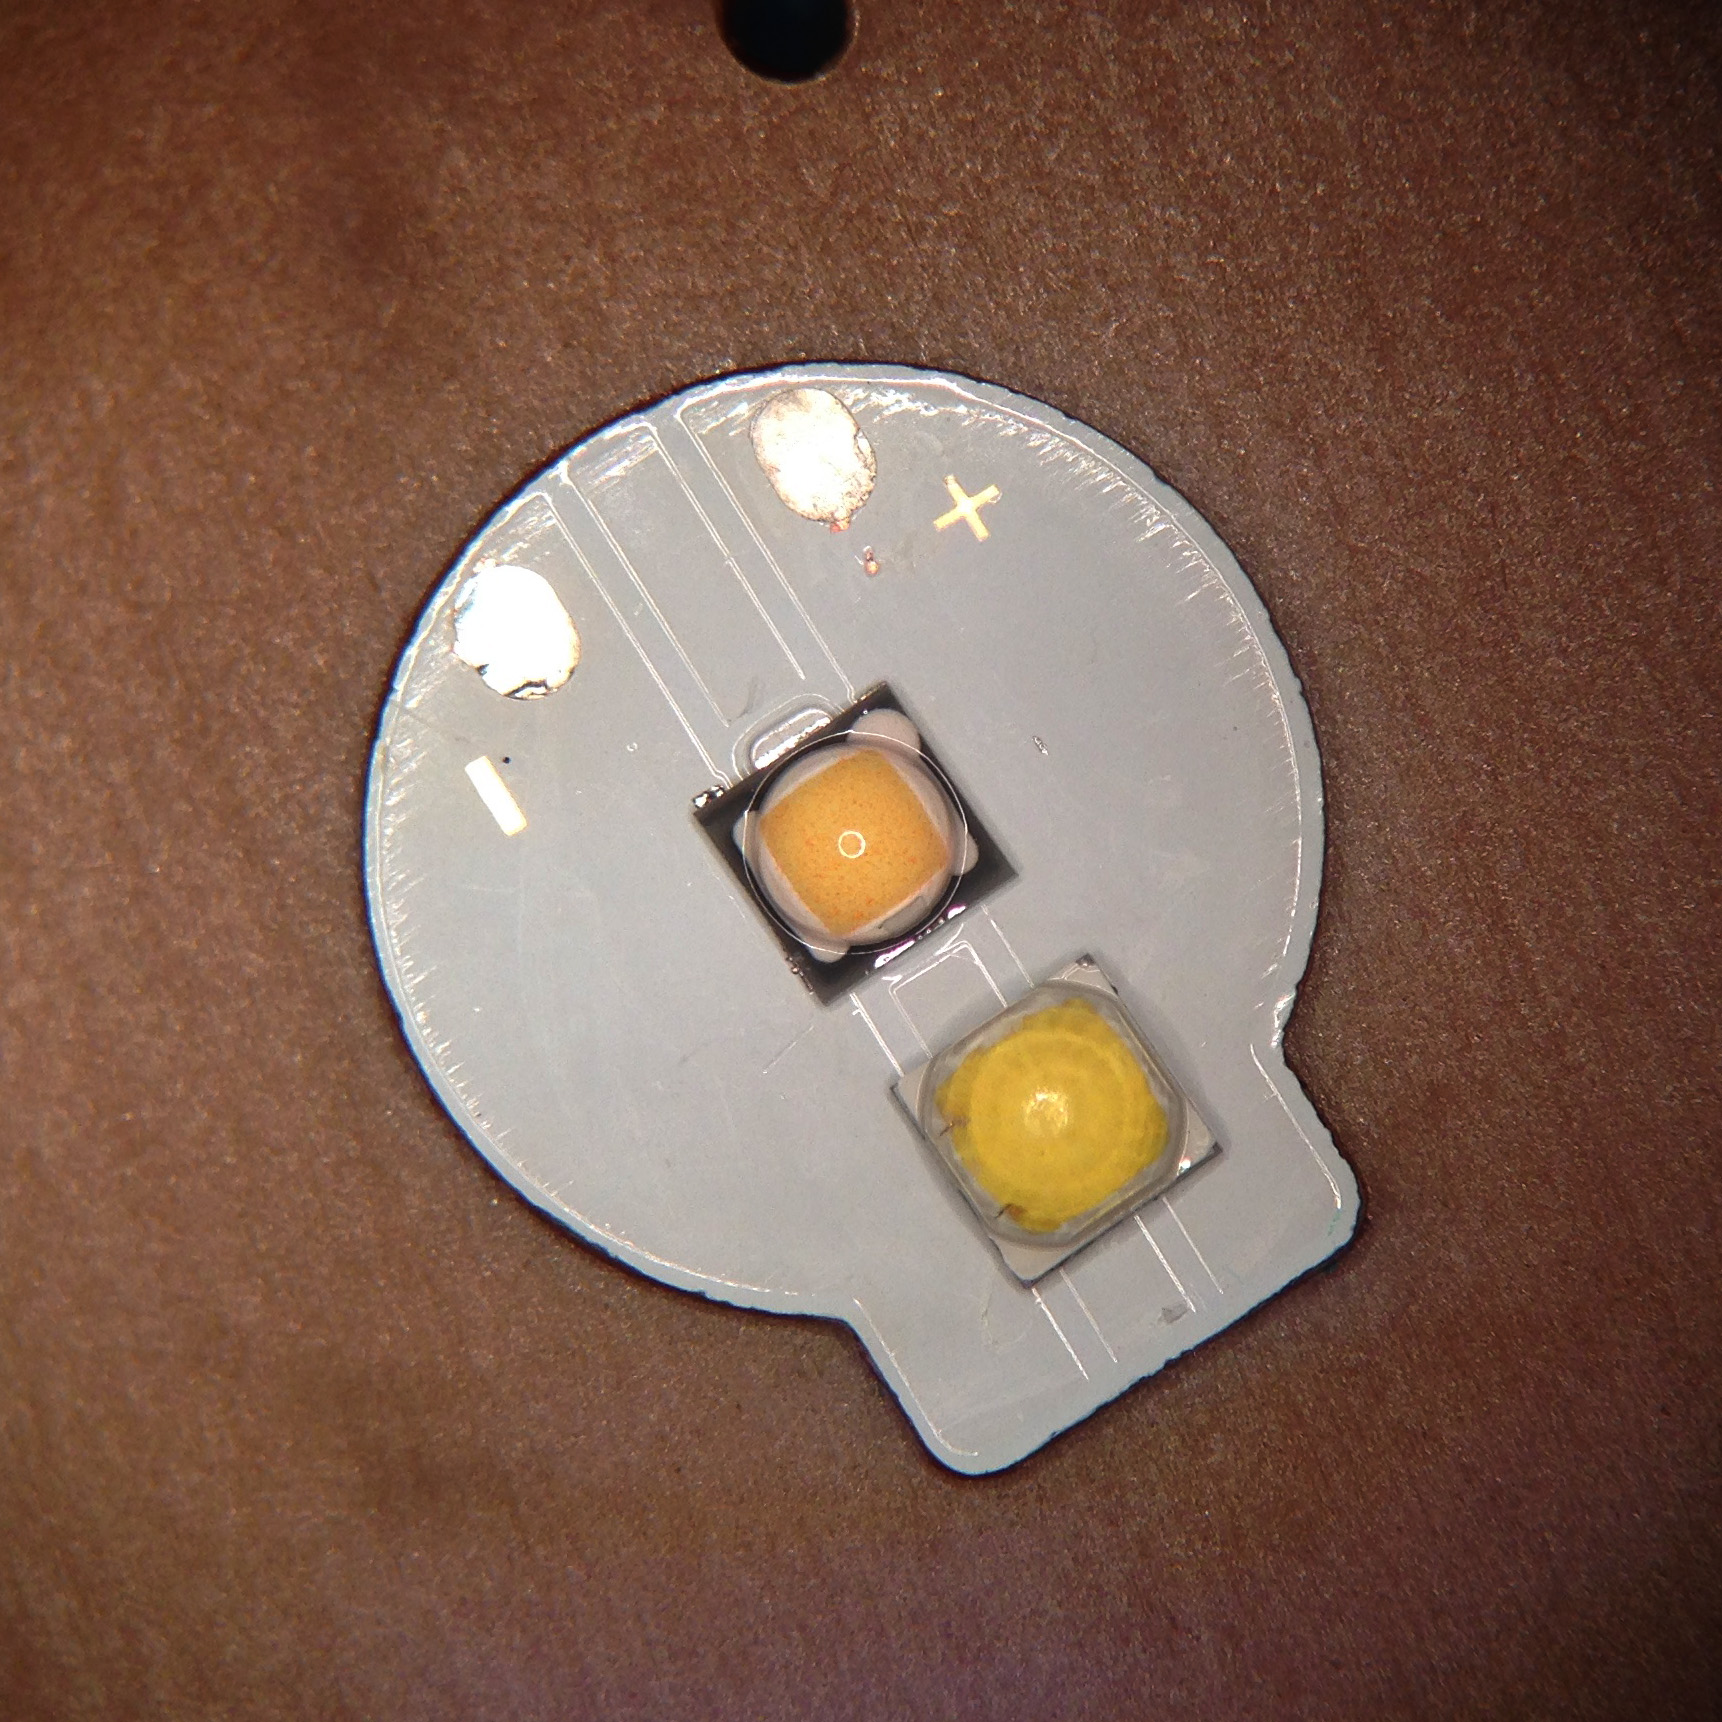
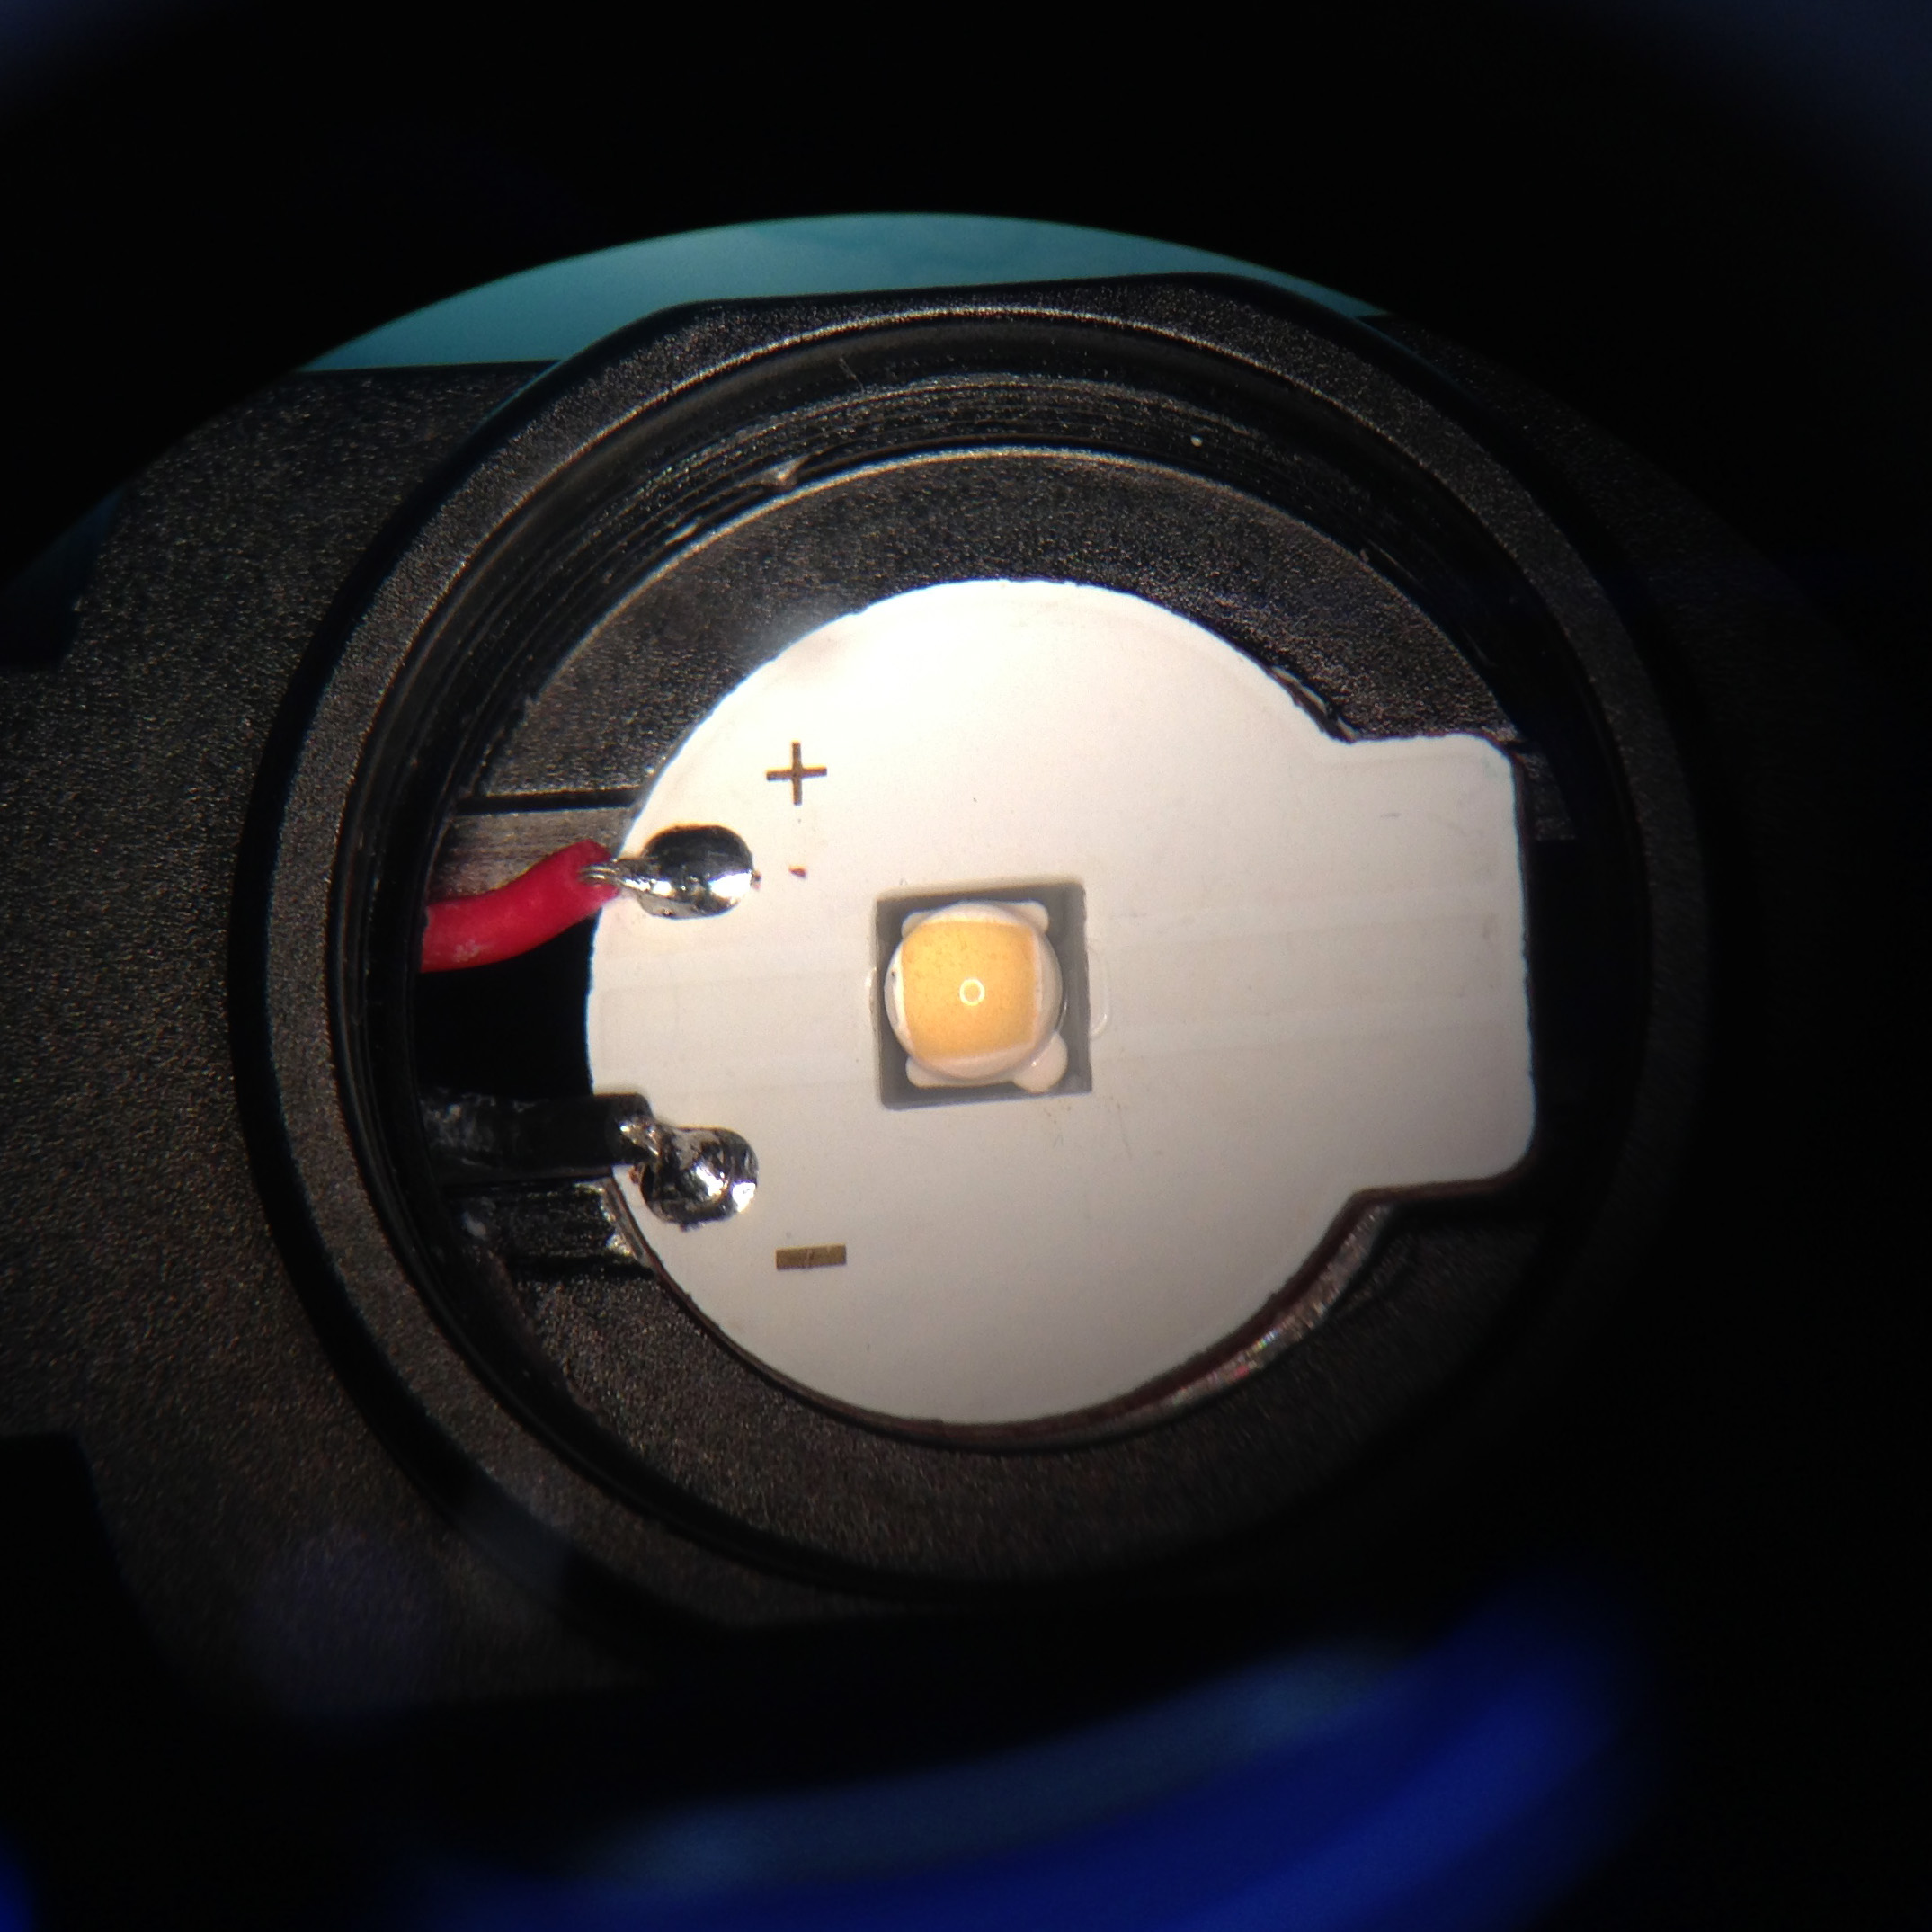
Reflowing the new emitter was very easy; I cleaned all the solder off the pads with desoldering wick, added a little bit of new solder to the pads with an iron, applied a liberal amount of flux, positioned the Nichia emitter, and heated the PCB from underneath with hot air. The emitter pulled itself into place without any hassle. New emitter reflowed into place shown above with the old emitter for comparison.
|
|
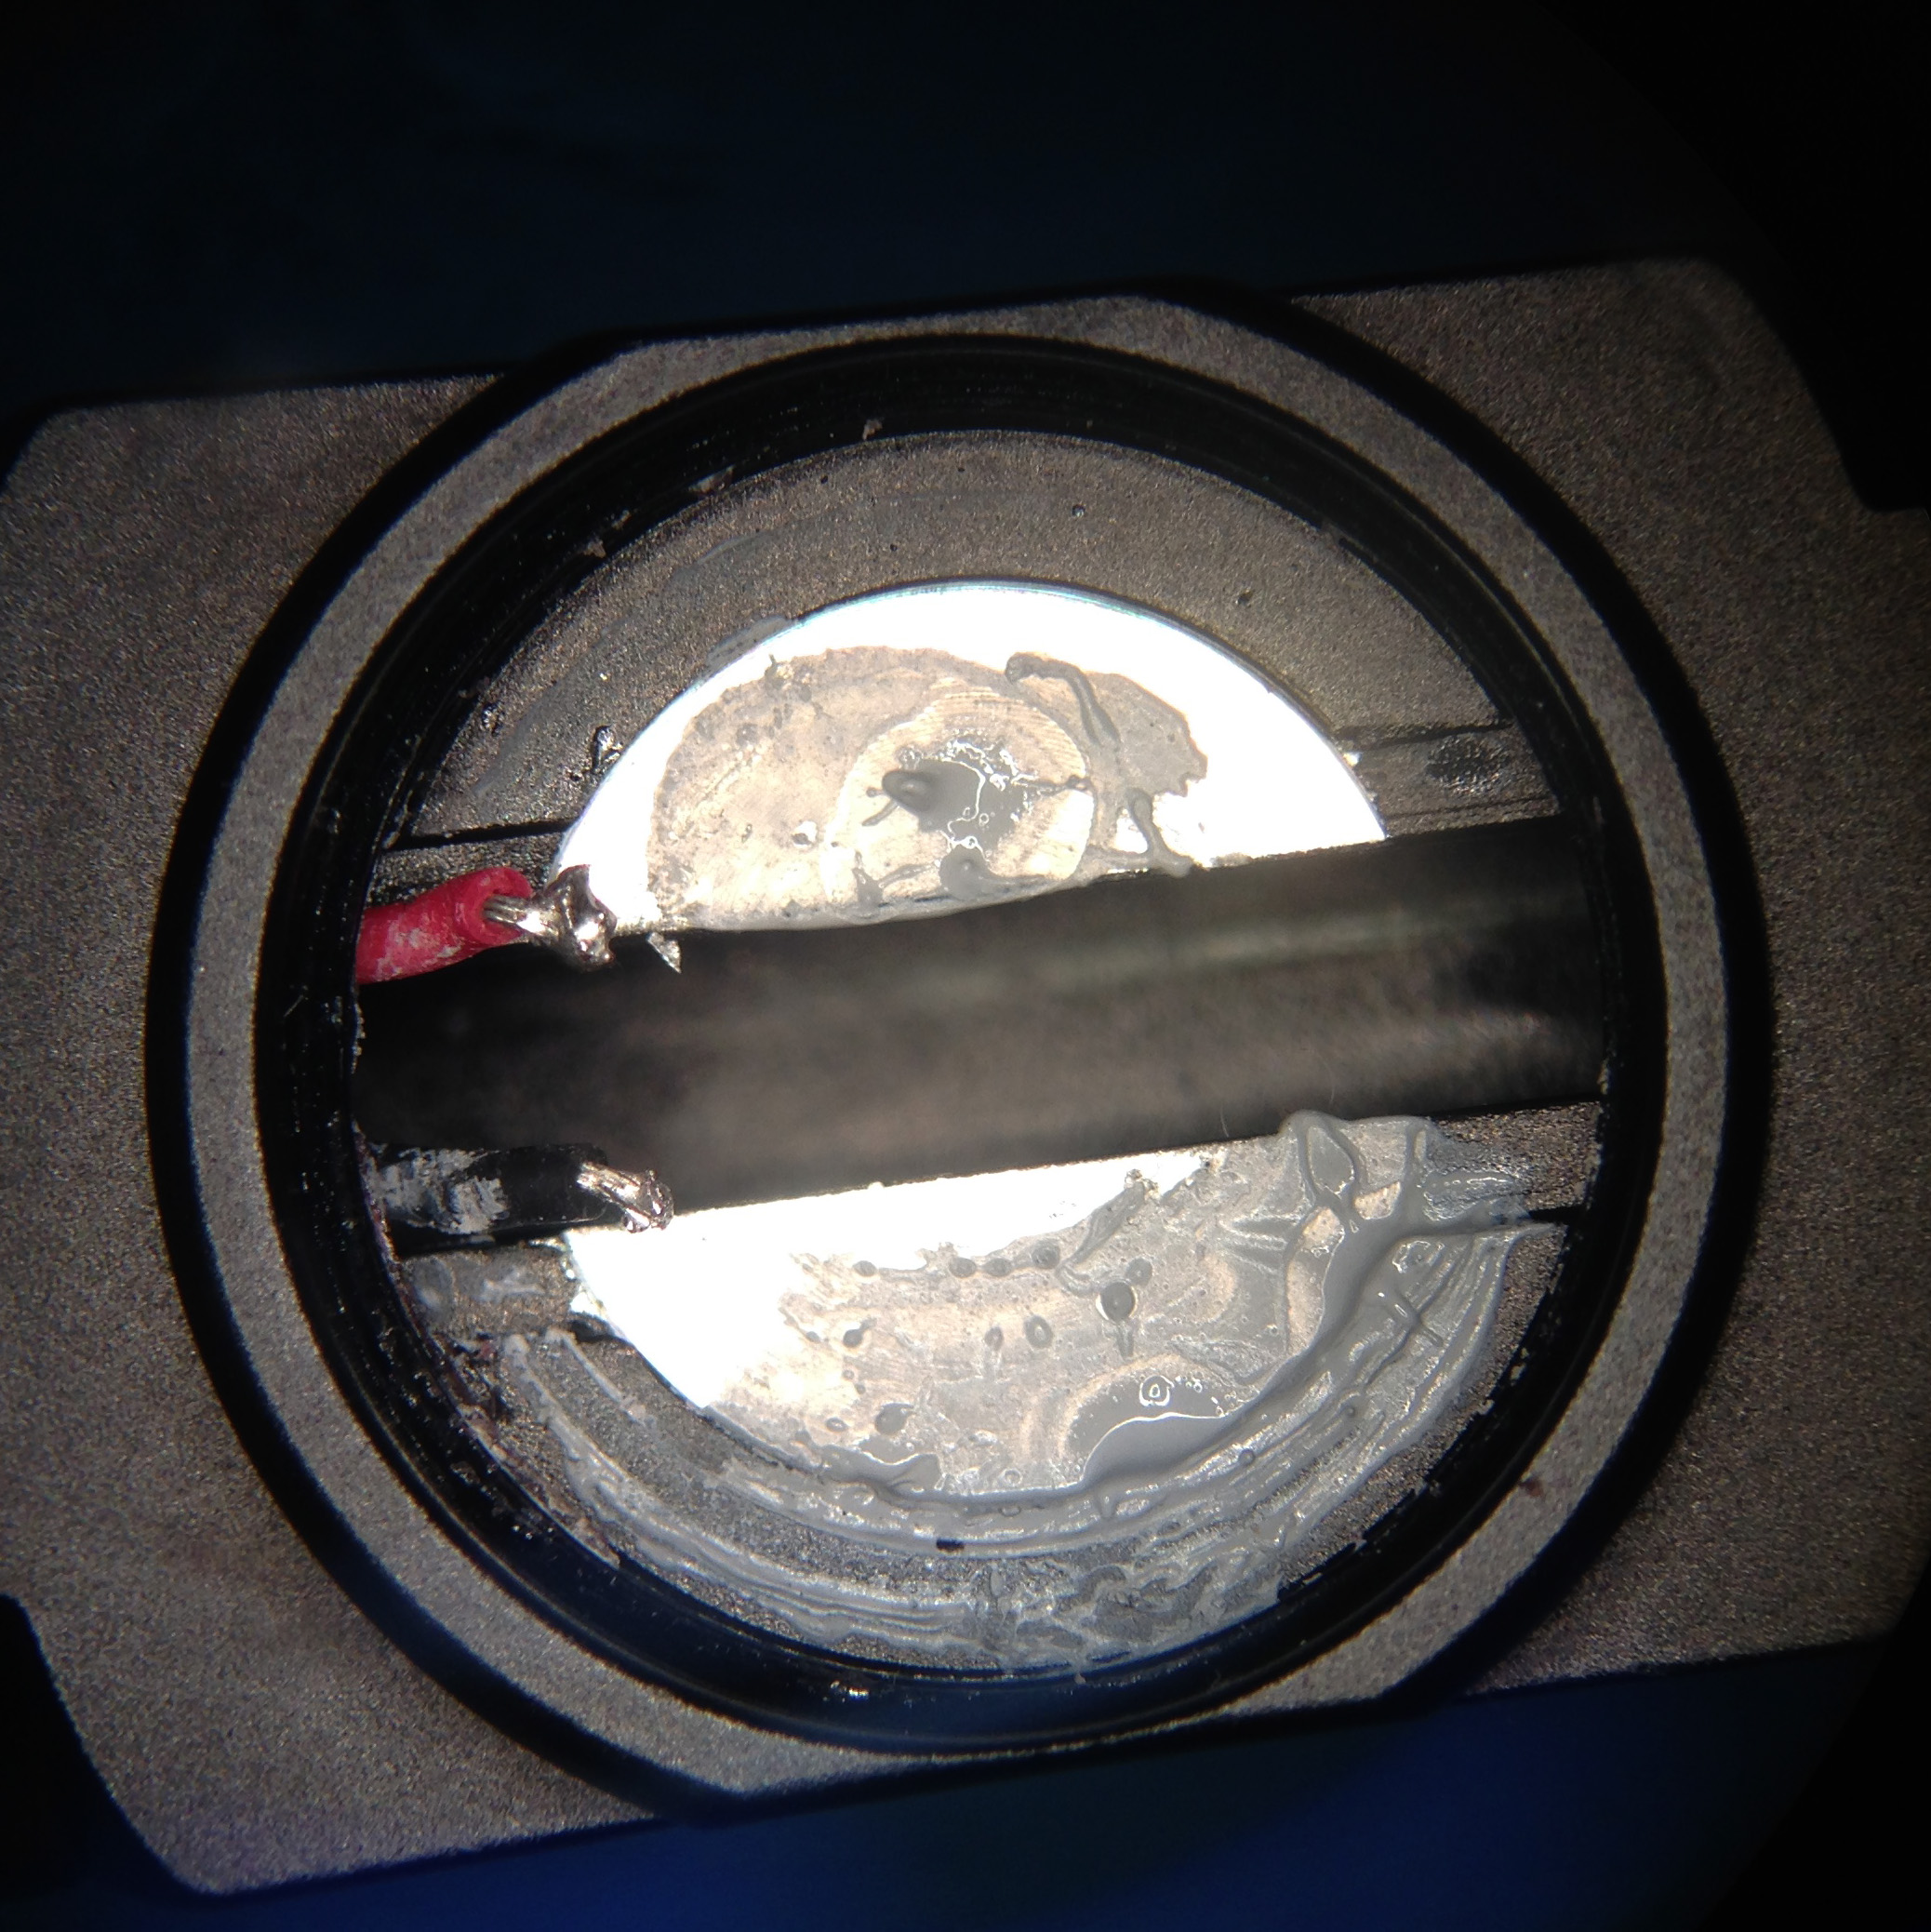
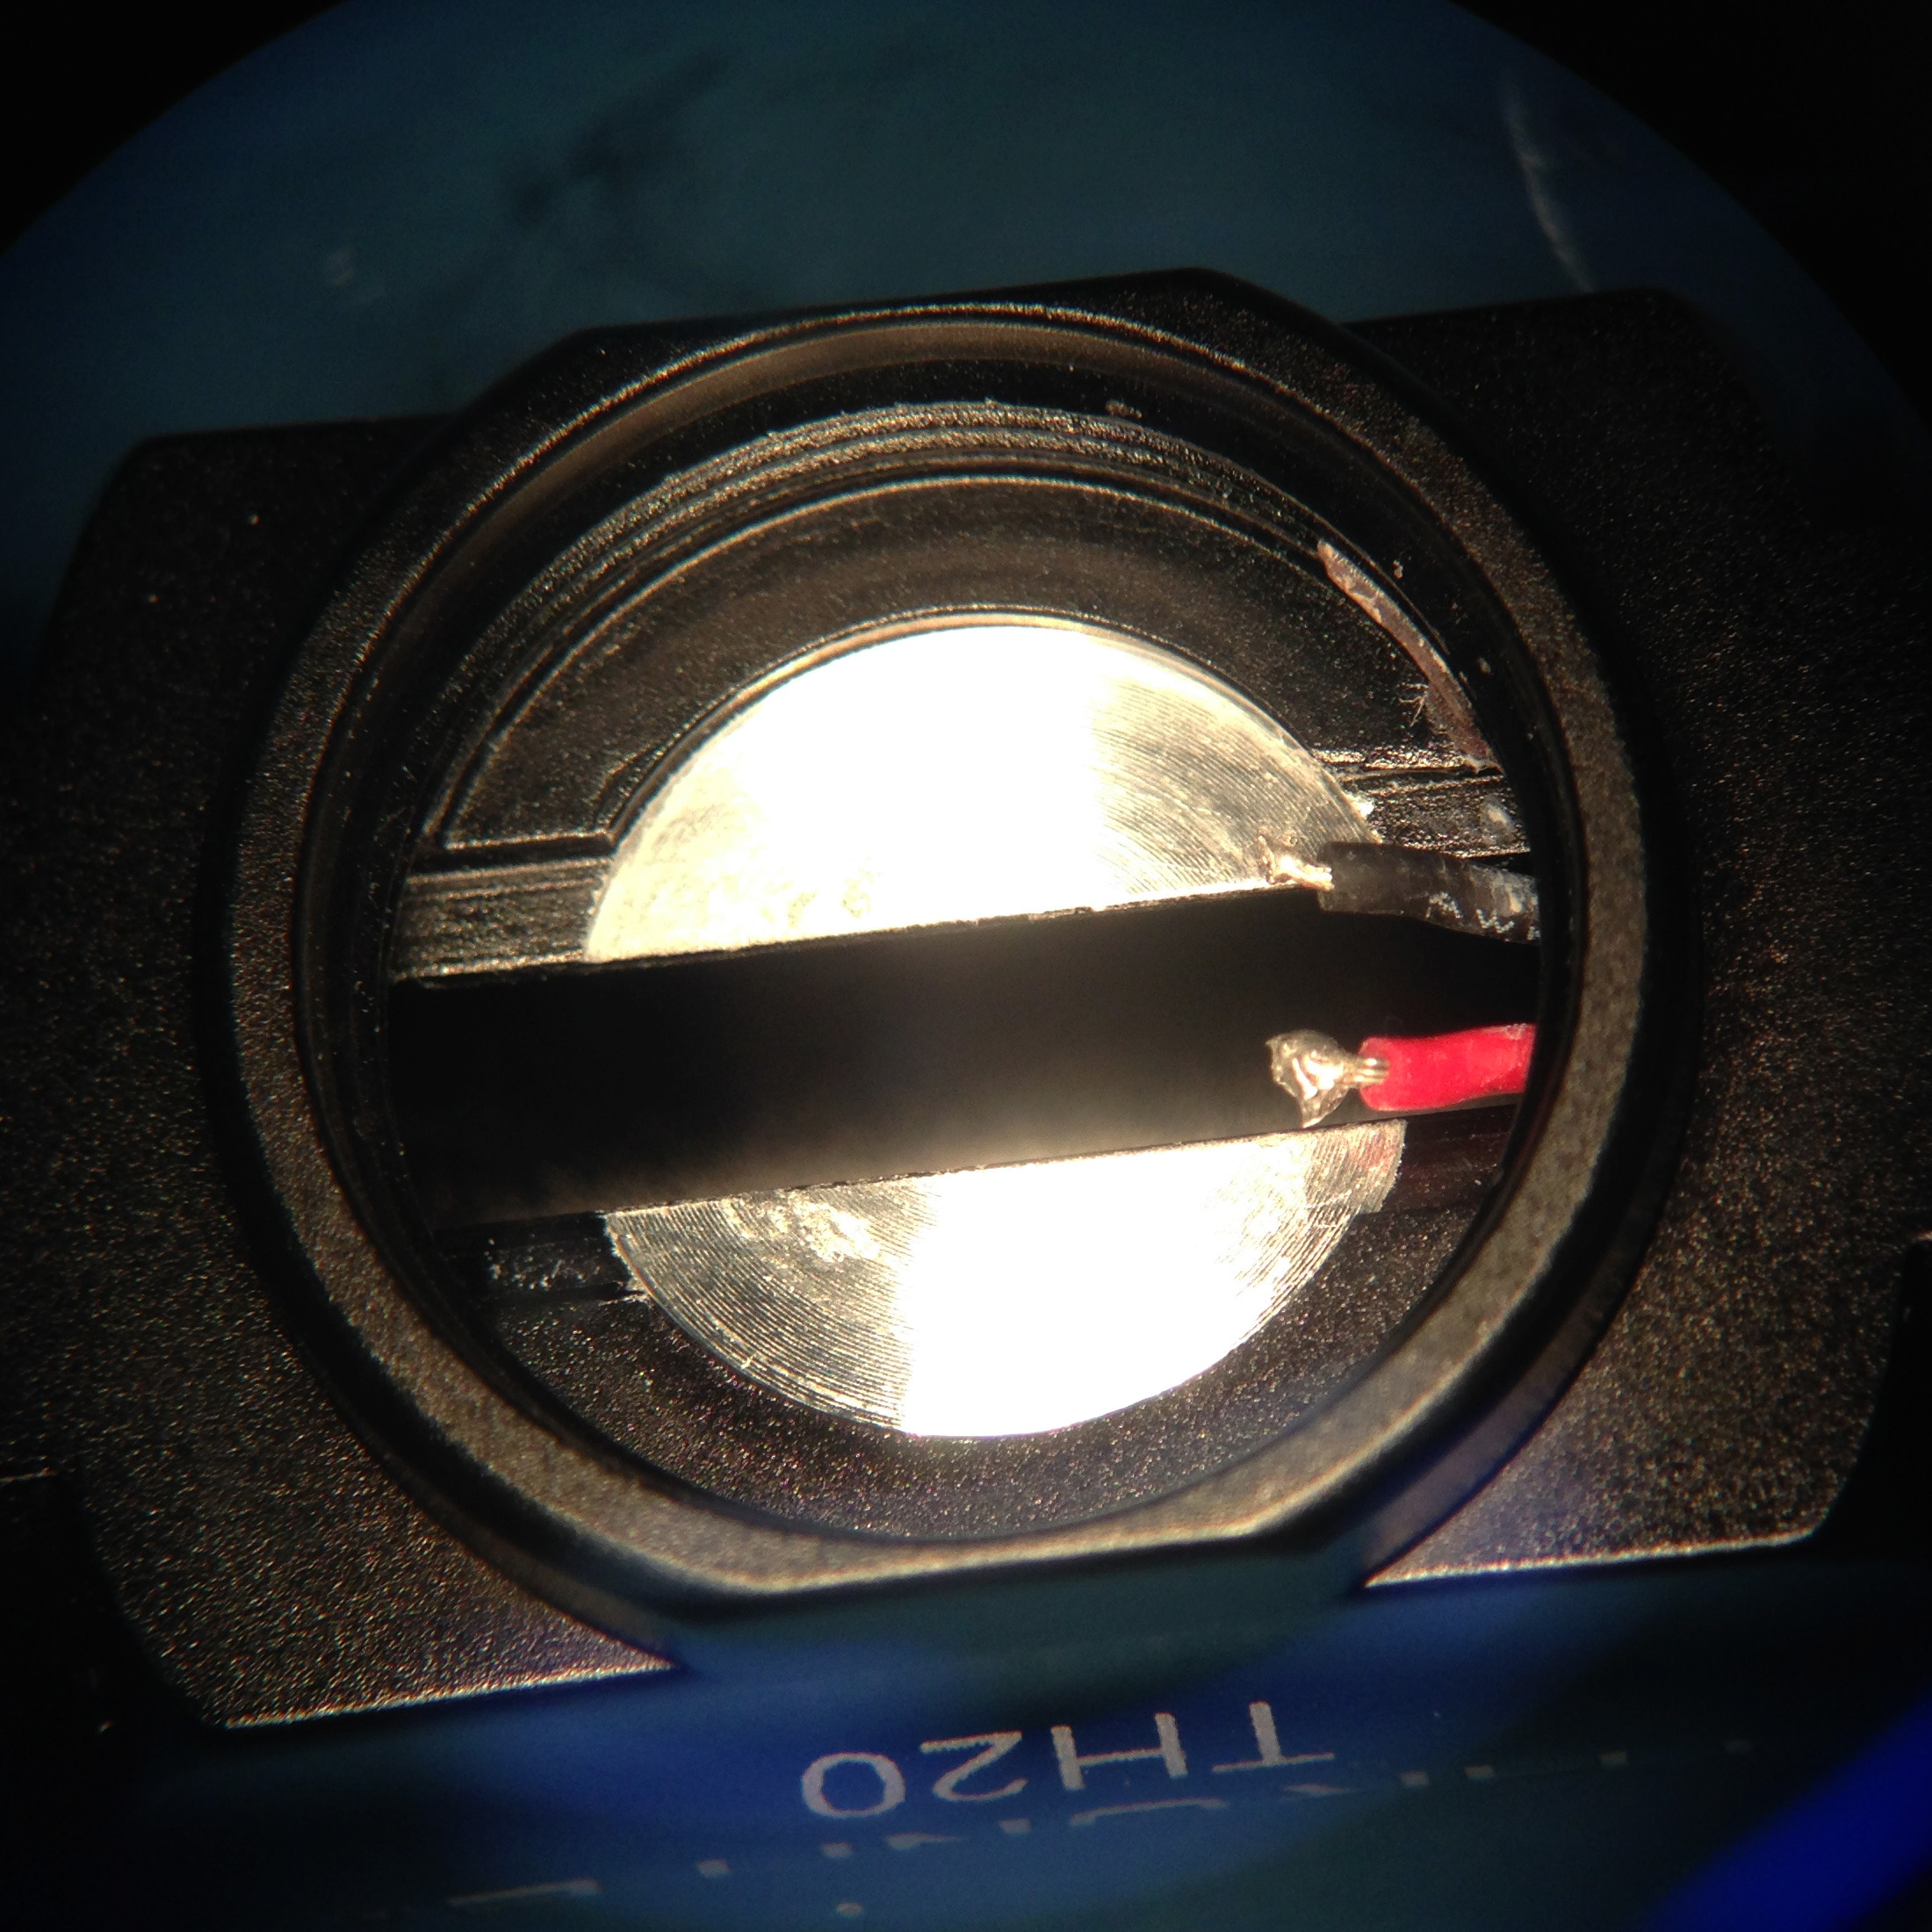
I cleaned out the original thermal paste, applied an even coat of Type 44 heatsink compound, and re-soldered the supply wires.
|

|
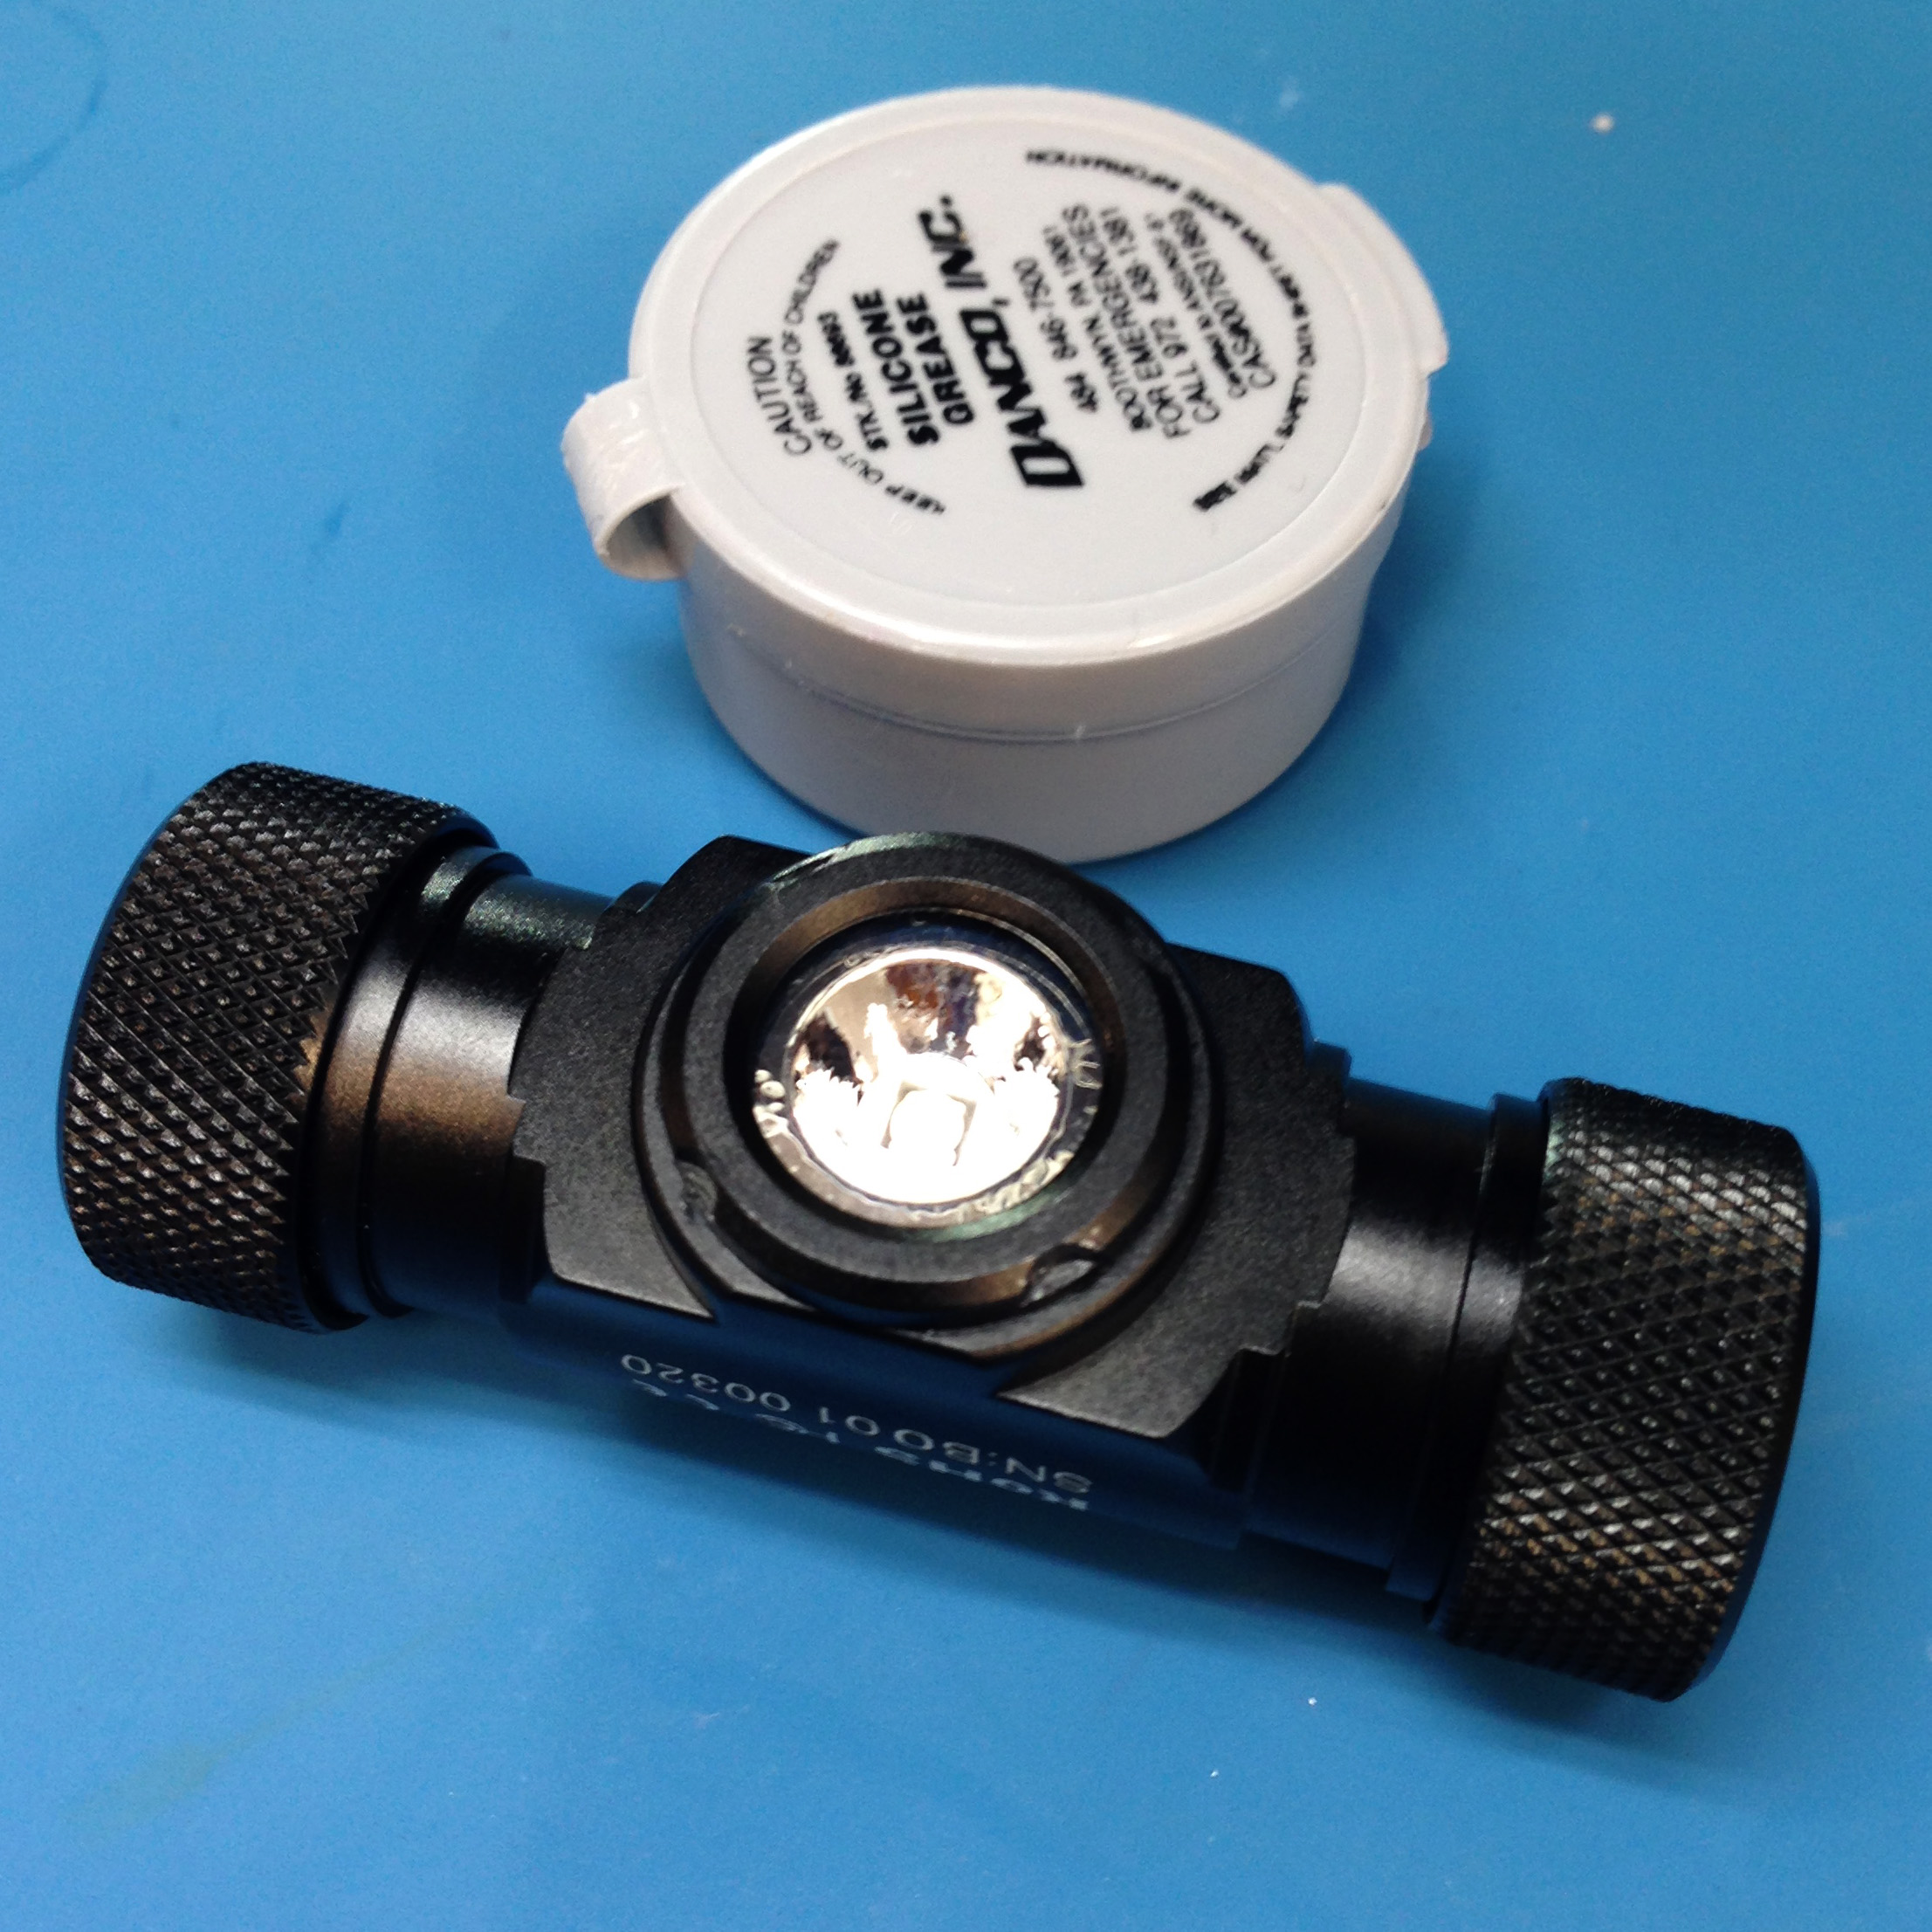
Reassembly was easy and I re-lubed the light in the process, both the bezel and battery compartment O-rings.
I cannot recommend this mod enough. The resulting headlamp is a joy to use. I run it on Eneloops; the 250 lm (somewhat less now that it’s a 219C) on NiMH turbo is plenty for most applications. I like the 4000K 219C emitter very much, it has a very even tint across the beam (which is quite floody, perfect for close work, hiking, etc), and the high CRI is very apparent on shrubbery, trees, grass, skin, and so on. I also like the centered emitter style, the downside is that it’s not as conducive to pocket clip use (like, say, a Manker E03h might be), but for headlamp use there’s something about the symmetry that’s nice.
For a in-depth review of the TH20, with many excellent pictures, see zeroair’s TH20 review.
My inspiration for the bezel wrench came from djozz’s TH20 emitter swap post on BLF.